Pick one head-height reference and stay with it. Sketch the gesture first, then build the ribcage, pelvis, and limbs as connected 3D forms. Review the whole figure before you add detail. Once the character bends or turns, the upright grid stops working, so judge proportions by the pose and the viewing angle.
A character can have carefully drawn arms, a believable head, and neatly shaped legs and still look off once the parts come together. The problem sits in the overall ratio, the direction of the torso, or the point where a limb joins the body. Each needs a different fix.
How many heads tall should a manga body be?
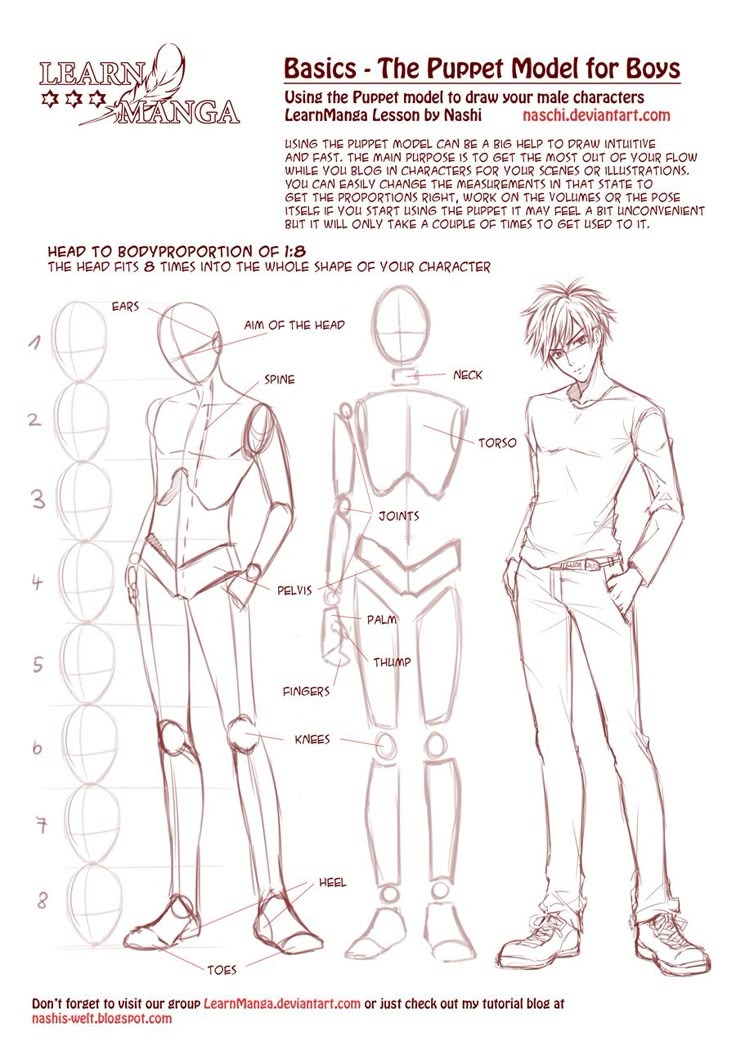
Head height is your measuring unit for a standing figure. Measure the drawn head from top to chin, then use that distance to compare the character's total height and the positions of the major body parts.
Drawing guides use different reference totals:
| Drawing source | Reference height | Type |
|---|---|---|
| CLIP STUDIO | Approximately 7 to 8 heads | Manga-related figure-drawing convention |
| Proko | 7.5 heads | System for studying human proportions |
| Canson | Approximately 8.5 heads | Illustrated stylized adult figure |
No head count is mandatory for manga, and none of these is a biological standard.
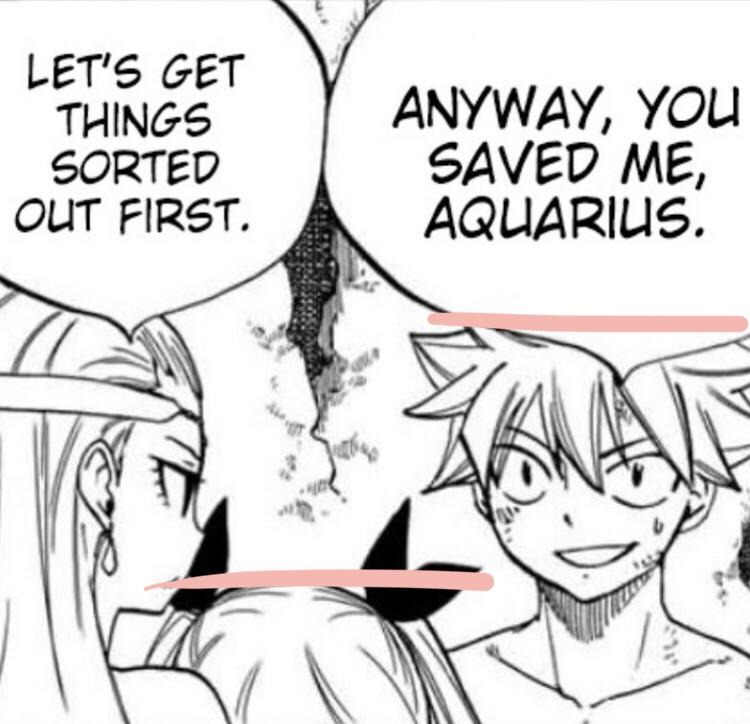
Two versions of the same character show it. The first has a large head and compact limbs. The second has a smaller head and a longer body. The face and costume stay recognizable, yet the figure reads differently. Both work as long as the other proportions follow the design.
For your first upright figure, choose one scheme, mark its divisions on a vertical guide, and keep the guide beside your rough sketch.
Start with gesture before you measure every limb
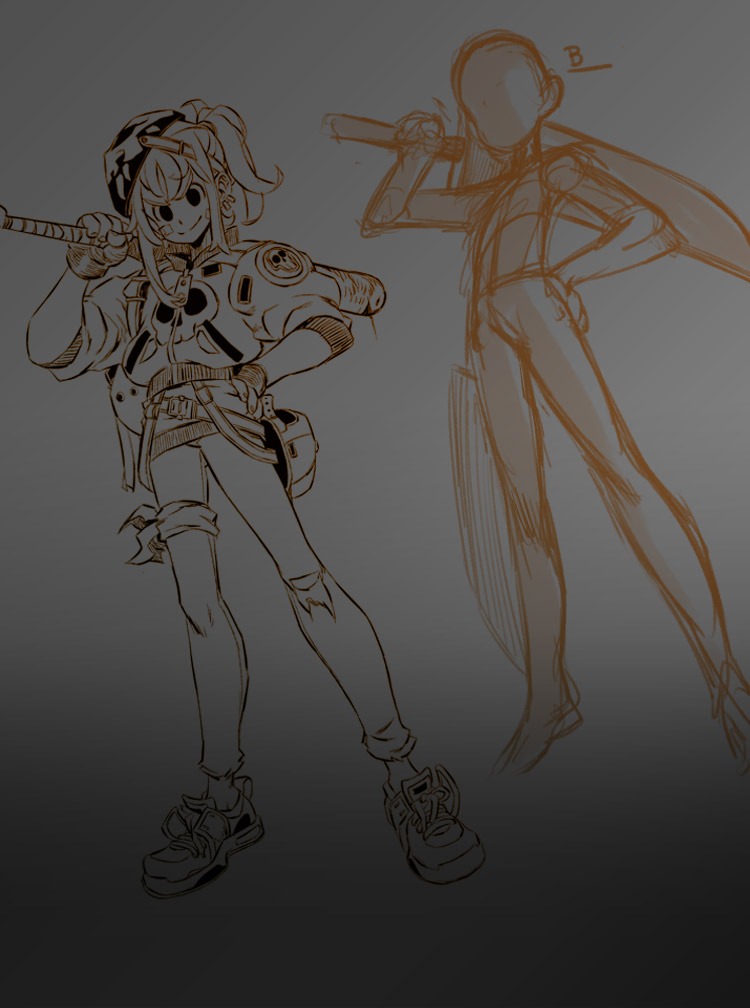
Gesture sets the direction and energy of a pose before you work out any limb. A few loose strokes show whether the character stands upright, leans sideways, or puts their weight on one leg.
An aspiring manga creator on r/BeginnerArtists sums up the problem: “i struggle a LOT with proportions, perspective and anatomy.” Gesture gives you the stance before the separate parts complicate the drawing.
A character standing with most of their weight on one leg looks stiff when the limbs are straight and evenly spaced, even if each length looks right.
A gesture sketch follows the flow through the body. The torso leans, the pelvis follows the supporting side, and the free leg points somewhere else.

Draw the major gesture for that stance, marking the overall lean and the supporting side, then compare the marks with the pose you intended. The gesture guides you as the drawing gains volume, and it doesn't have to appear in the final contour.
Build the ribcage, pelvis, and limbs as connected forms
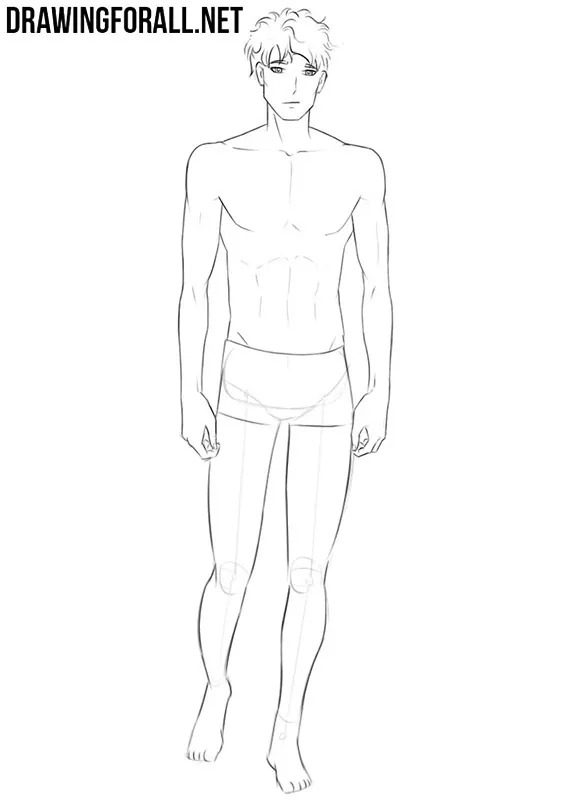
Treat the torso as two major masses joined in the middle. The ribcage sets much of the upper torso's volume. The pelvis organizes the lower torso and the attachments of the legs.
Sketch a simple oval or box for the ribcage and another for the pelvis, and give each its own facing direction. A centerline across the front of each form shows that direction.
In a side lean, the distance and angle between ribcage and pelvis change. In a twist, the two masses face different directions, yet the torso must still read as one body.

An artist on r/learnart described a reference exercise: “I found a reference pic and traced the basic shapes on that, and the copied it on the other side of the canvas.” Construction shapes organize what you observe. Their positions and connections decide whether the figure works.
Build the upper arms and forearms as tapered cylinders, and use similar simple volumes for thighs and calves, oriented with the pose. Keep the shoulder and hip attachments visible while you build.
A typical mistake: the ribcage turns while the arms keep a flat, front-facing attachment. Each cylinder looks right, but the joints disagree with the torso's orientation.
Orient both torso masses on your initial gesture, then connect the limb volumes. Note how each arm and leg comes out of the larger structure before adding surface detail.
Place anatomical landmarks and review limb relationships
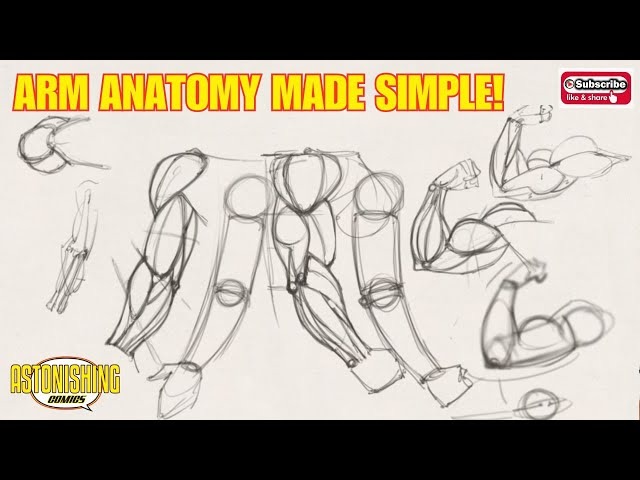
Landmarks let you place the major joints and check the body as one connected whole. The beginner's starter set is the shoulder, elbow, wrist, hip, knee, and ankle, read against the ribcage and pelvis.
In the adult-male standing figure that CLIP STUDIO demonstrates, the crotch sits around the midpoint of total height, and the knees fall approximately midway between the crotch and feet. Other body designs and poses place them differently.
The shoulder connects the arm to the upper torso, and the hip connects the thigh to the pelvic region. The elbow has to make sense between shoulder and wrist. The knee has to fit the chain of hip, thigh, calf, and ankle.
An elbow that looks displaced won't be fixed by redrawing its contour if the upper arm points the wrong way. The neighboring segments show whether the joint belongs where you put it.
Mark the six joints on the complete figure, compare them with the torso orientation and the connecting segments, and fix any out-of-place connection while the construction is still visible.
A landmark also moves on the page when the limb or torso turns. The same joint can look farther inward or outward from another view while staying attached to the same anatomy.
Stylize manga anatomy without losing consistency
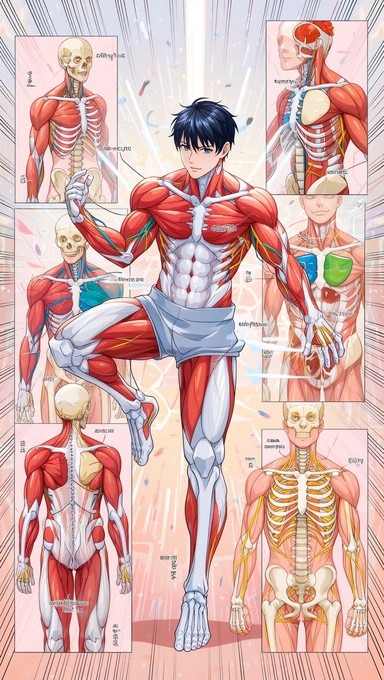
Manga allows deliberate changes in body proportions. A big head, a compact torso, or long limbs can set a character apart, as long as the connections stay coherent and the design repeatable.
Take the base character from the head-height comparison and give it a larger head and shorter limbs relative to the torso, keeping the stance and major attachments recognizable. The character looks different, and the structure under the pose holds.

Advice on learning order varies. Some instruction favors studying human references first, and other advice lets observational drawing and manga practice develop together.
Observing real figures can inform a manga character's structure while you keep drawing the subjects you enjoy.
A hip connection that shifts unpredictably between views makes a character harder to keep consistent, however exaggerated the design.
Change one proportion of the base character on purpose, compare the new silhouette and connections with the original, and note what you want to keep in future drawings.
Why does my manga body look wrong? Diagnose the actual error
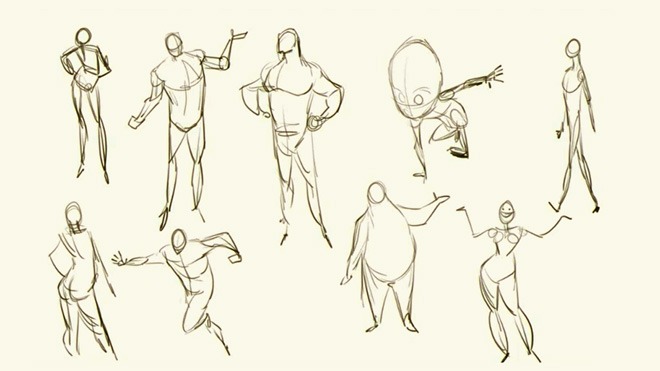
When a body looks wrong, find the element that fails before you change any detail. A scale flaw, a poorly connected hip, and a limb turned toward the viewer each need a different fix.
On r/Artadvice, an artist asked: “How comes my anatomy looks fine when I break it down but when I try to make it into an actual body it looks bad?”
| Visible problem | Inspect | Fix |
|---|---|---|
| Head looks too large for the design | Head against total figure scale | Resize the head to match the ratio you chose |
| Body looks stiff although lengths seem fine | Gesture and weight shift: overall lean and supporting stance | Rework the large pose direction |
| Torso and legs seem disconnected | Ribcage, pelvis, and upper thigh: do the mass orientations and hip attachments agree? | Repair the inconsistent mass or attachment |
| Elbow or knee looks misplaced | Adjacent limb forms and landmarks | Correct how the connecting segments relate |
| Arm looks unusually short in a turned pose | Foreshortening: limb direction and visible overlap | Inspect its projected form before changing the anatomy |
Worked example: the disconnected torso
A manga character stands in a slight three-quarter stance. The ribcage turns with the shoulders. The pelvis, though, is drawn as a front-facing box, and the near thigh starts beside the box's outer edge, away from the hip connection. Each limb is a plausible shape alone, but the body breaks where the thigh should meet the pelvis.
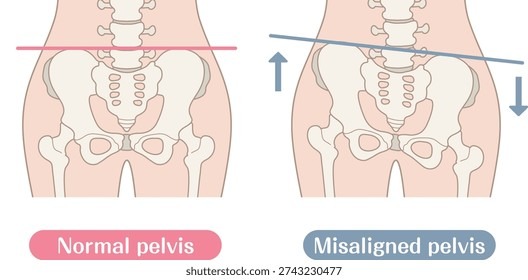
Two problems show up. The pelvis faces a different way from the intended lower-body stance, and the thigh comes out of a silhouette edge instead of the hip. A twisted torso can be intentional, but the disconnected attachment here is the error that changes how the body reads.
Fix the pelvis-to-thigh connection as one unit. Turn the simplified pelvis to suit the intended lower-body view, find the near hip on it, and bring the top of the thigh into that attachment. Leave the ribcage's slight turn, the head, the overall stance, and the chosen body ratio unchanged.
Now the ribcage can rotate above a pelvis that supports the legs. Three successive views of the same construction show the revision:
- Before: The near thigh starts beside a front-facing pelvic box.
- Diagnosis: The pelvic facing direction and the true hip attachment are marked.
- After: The pelvis supports the near thigh through a clear hip connection. The rest of the character stays in place.
Compare before and after at the same scale and viewing angle, and follow the connection from torso through pelvis into thigh. The leg should no longer look like it floats. If you change all the limbs and the body scale at once, you can't tell what repaired the fault.
When the figure bends or turns, the proportion grid changes
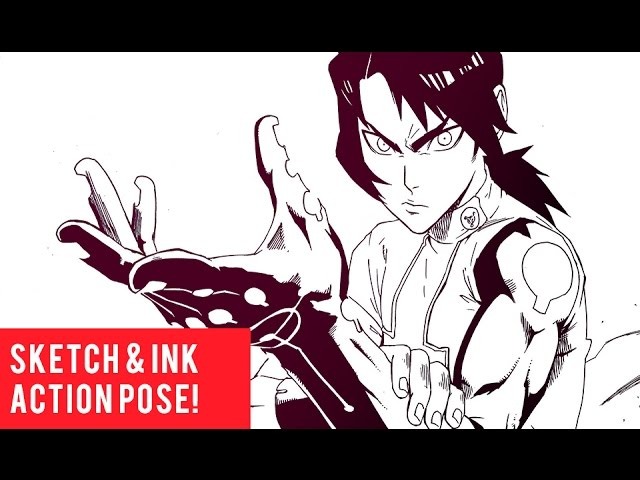
A head-height grid describes a figure in an upright reference pose. When the character bends, twists, or turns toward the viewer, the lengths projected on the page change.
An upright character holds an arm out to the side, and you see the arm's full length across the image. Rotate the arm toward the viewer and its visible length shrinks, though the arm itself stays the same length.
A torso leaning forward or a leg extending into depth does the same. An upright head-count chart can't serve as a strict flat ruler for foreshortened or rotated poses.
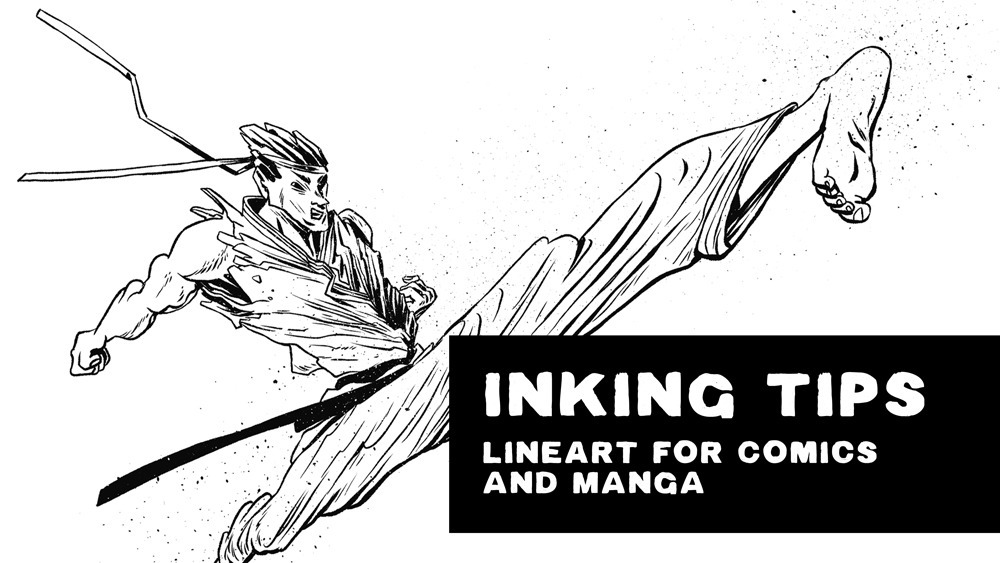
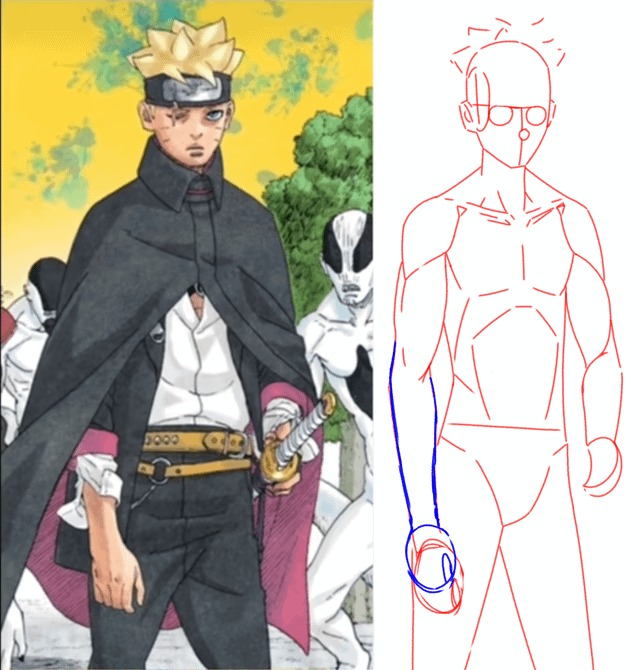
Compare a front-view construction with a three-quarter version of the same character. Trace the facing directions of the ribcage and pelvis and note where the limb forms overlap.
CLIP STUDIO provides adjustable 3D drawing figures as an optional reference for checking pose and viewing angle. You can study the same comparison with a drawn construction or a suitable photograph.
Practice once, then see what you can draw without the reference
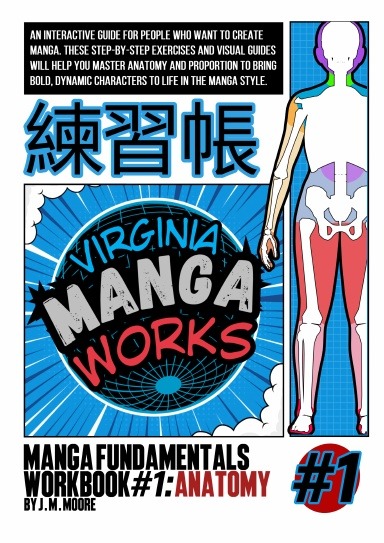
A good anatomy study shows what you can reconstruct once the reference is out of sight. Start with a clear standing figure and run one cycle of observation, construction, and independent redraw.
- Observe: Study the reference's overall stance and relative body proportions.
- Construct: Draw a simplified version showing gesture, major masses, and limb connections, with no costume details or shading.
- Redraw independently: Look away from the reference and construct the figure again from what you studied.
- Compare: Set the drawings side by side. Look at the silhouette, the orientation of ribcage and pelvis, the shoulder, hip, and limb attachments, and the intended proportions, then name one weakness in the independent version.
If the redraw keeps the silhouette but puts one knee in an awkward spot, you have a specific weakness to study on the next attempt.
Use proportions as a guide for your next figure
For your next study, pick one simple full-body pose and apply the approach above.