Sketch the head and hairline first, build a few clumps that follow the direction of growth, and add small strands once the silhouette reads clearly. For tight curls or coils, shape the clumps to match your reference. Then draw the same hairstyle from another angle and check it at manga-panel size.
Start with the skull, hairline, and hair direction
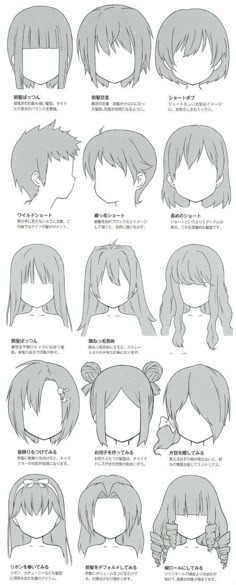
Every convincing manga hairstyle starts with the head underneath it. Sketch a simple bald head in the view you want, and keep the forehead, crown, and curve of the skull visible in light construction lines. The hair wraps around those lines.
In a front view, the upper curve of the skull still matters when thick bangs cover the forehead. In profile, the forehead and back of the head show how far the hair extends. A short cut sits close to the skull. A fuller style needs more room.
Mark a rough hairline along the forehead and sides, then place the outer contour of the hairstyle beyond the skull. Illustrator Eridey’s Art Rocket drawing lesson uses hairline and head curvature as guides for arranging hair around the skull: the roots follow the rounded head, while the outline can stand away from it. No fixed gap applies. A close-cropped style and a full, rounded bob take up different amounts of space.
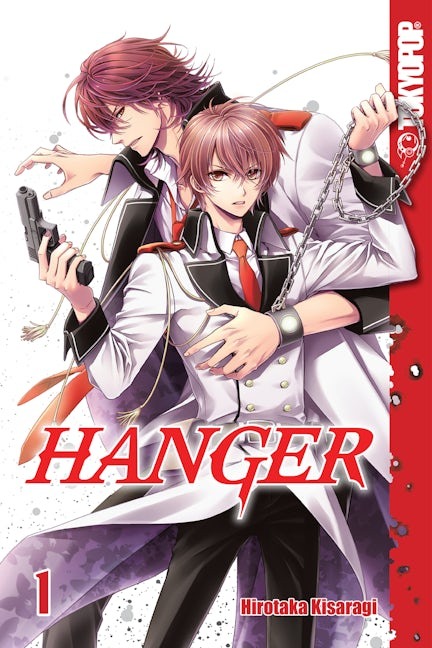
The hairline, part, and whorl are three different things. The hairline borders the forehead. A part separates groups of hair that flow in different directions. A whorl near the crown gives you a direction guide.
For a character with hair parted on the left, a faint guide above that side of the forehead organizes the bangs that cross the face and the side clumps moving toward the ear. If the style hides its part, follow the visible sweep of the major clumps.
Keep the construction to a head curve, a hairline, a part if the style has one, and a few root-to-tip direction guides.
Build the hair silhouette with overlapping clumps
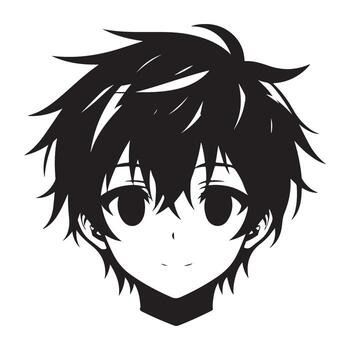
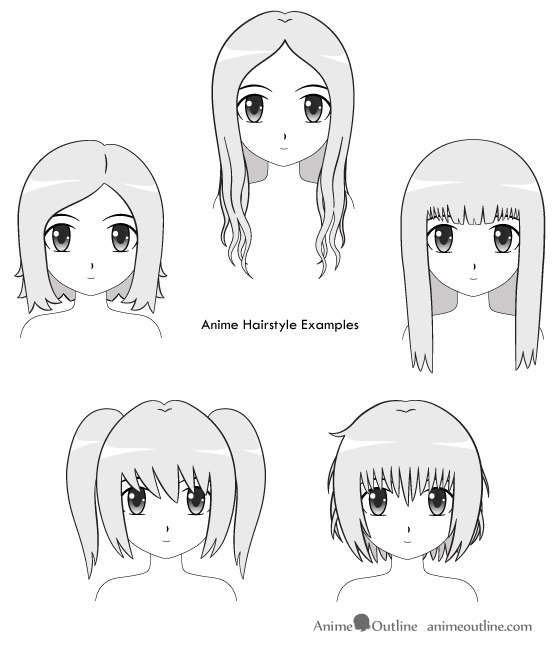
Draw the whole haircut as one outer shape first. Its width, highest point, and length set the look before any individual clump appears. A bob forms a rounded contour near the jaw. Longer hair falls in broad shapes past the shoulders.
Then divide that silhouette where the hair changes direction, overlaps another clump, or opens into a gap. In a r/learntodraw discussion, a beginner described the problem: “I tried to do the thing of clumping the hair instead of separate strands or grass hair, but I can’t mentally comprehend that.” The missing step is choosing boundaries for actual shapes.
Build the front, side, and back clumps
Use one original character for this exercise: a left-side part, a noticeable break in the bangs above one eyebrow, a lock near the ear, and a longer back section. Start with the broad shape that sweeps from the part across the forehead. End it at the break in the bangs, where another clump turns in a different direction.
Next, separate a side lock where the flow bends down toward the ear. Let its edge overlap the clump behind it, and leave a narrow opening near the cheek if the haircut calls for one. Keep the back hair as a broad third clump behind the side lock. Its lower edge sets the length of the haircut as a single sweeping contour.
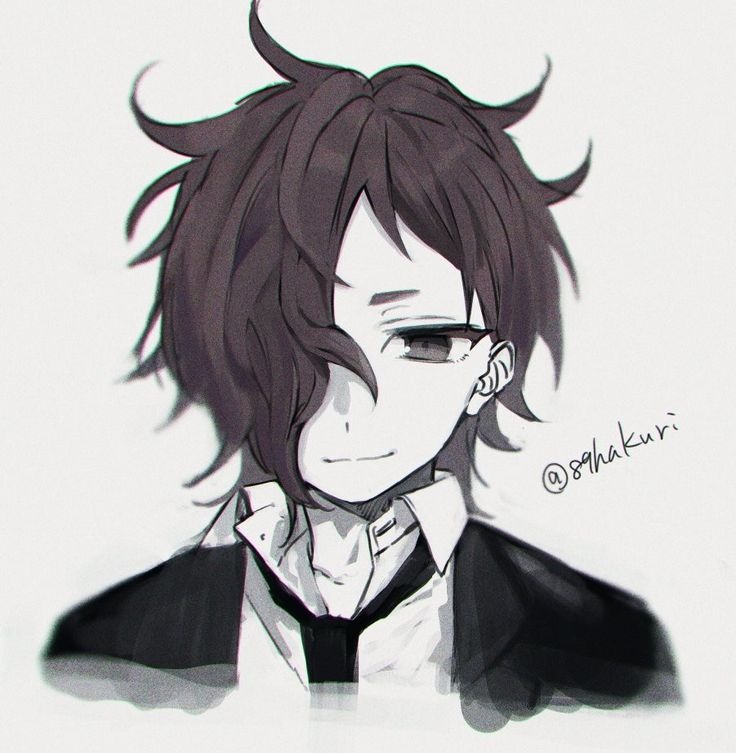
This front, side, and back/top split is a construction aid. Tightly curled, closely cropped, or pinned styles need a different arrangement.
| Hair area | Job in the drawing | Boundary |
|---|---|---|
| Front | Frames the forehead and face | Bang split, part, and overlapping tips |
| Side | Connects top volume to the ear area | Change of flow or overlap at the cheek |
| Back and top | Sets upper volume and back length | Contour around the crown and neck |
The MediBang Paint tutorial published March 5, 2021, shows this on a bob: it uses a directional whorl marker, grouped hair shapes, and a clean line-art pass.
Hide the interior strand lines for a moment and judge the silhouette and the overlapping clumps on their own. If they don’t communicate the haircut you intend, revise them before you go on.
Add locks and strands where they change the drawing
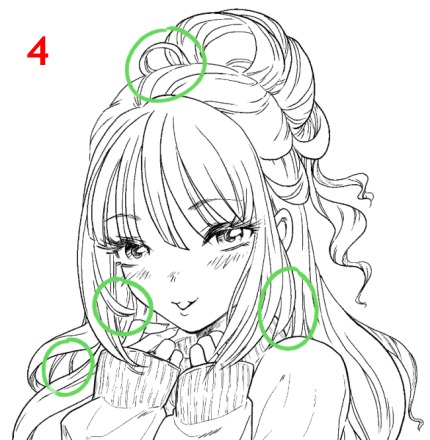
Small lines come after the main shapes work. A secondary lock can split from a larger clump, pass in front of another one, or change the outline at its tip. A flyaway is a lighter accent that suggests loose texture or motion without carrying much of the structure.
A shoulder-length lock curving beside the cheek needs little: its outer contour gives it direction and length. One shorter stroke inside the curve suggests the bend, and a second mark near the tip separates two overlapping pieces. A dense row of parallel lines hides the form you’ve already built.
Match the line endings to the haircut. A smooth lock can narrow to a tapered point, while a softer clump can end in a rounded contour. Line weight shows depth too: a darker edge at an overlap separates a foreground lock from the hair behind it. In black-and-white ink, small white gaps keep adjacent dark forms distinct.
Copy a finished clump and add selected fine strokes to the copy. Compare the two versions and remove the lines that explain neither the hair’s direction nor a real overlap.
Keep the hairstyle recognizable from another angle
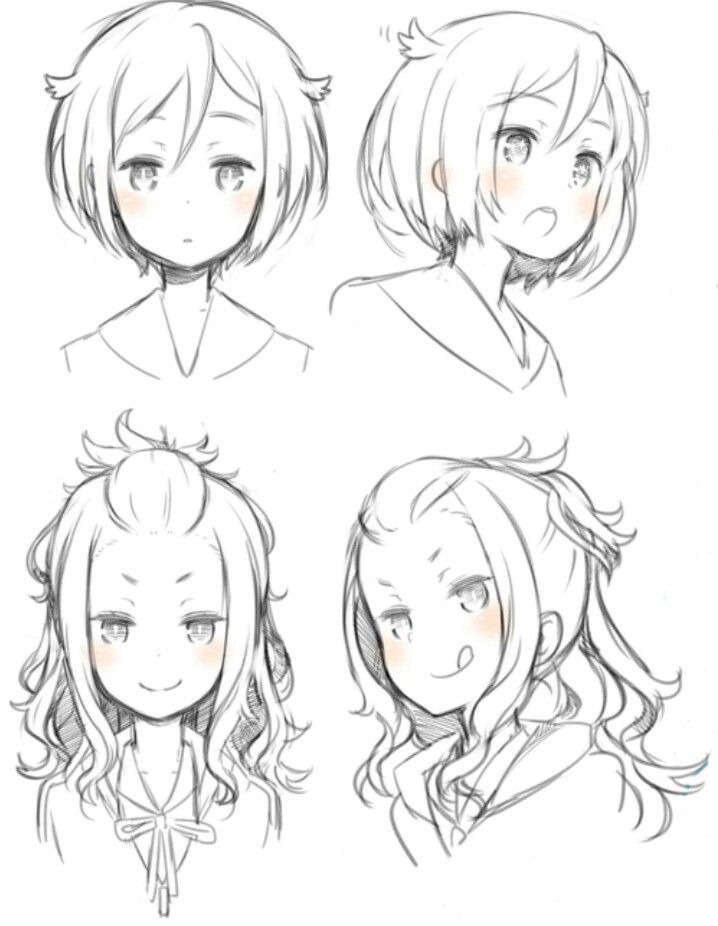
When a character turns, the haircut keeps the same design even though its visible shapes change.
A first-time manga or webtoon creator asked in an r/Mangamakers thread: “How do you guys ensure your character looks consistent across different angles for different panels?” The problem shows up when hair that looked distinctive from the front is drawn from the side.
Return to the character with the left-side part and a break in the bangs above one eyebrow. From the front, both sides are visible and the opening in the bangs marks the split clearly. The longer back hair appears mainly below the side hair.
In a three-quarter view, the nearer side lock covers more of the visible cheek. The head turn partly hides the far side. The bang break looks narrower, but it stays in the same clump that sweeps across the forehead. The back hair still extends beneath the shorter side lock.
In profile, the bangs project across the forehead, and the ear-side lock and back length become the strongest identifiers. The far-side bangs can disappear from view. The longer back hair keeps occupying the space behind the neck, even when the front outline changes a lot.
A gust of wind can lift the tips, and a head turn can hide a whole clump. The part, the bang break, and the back length stay where they were.
- Part position: Which side organizes the main sweep?
- Bang break: Which clump holds the distinctive opening?
- Top volume: Does the crown keep its roundness or height?
- Back length: Where does the back hair end relative to the ear and neck?
Draw the same haircut from a second angle and compare those four landmarks with the first drawing. Their visible positions and overlaps shift with the head turn.
Adapt the shapes to straight, wavy, curly, and coily hair
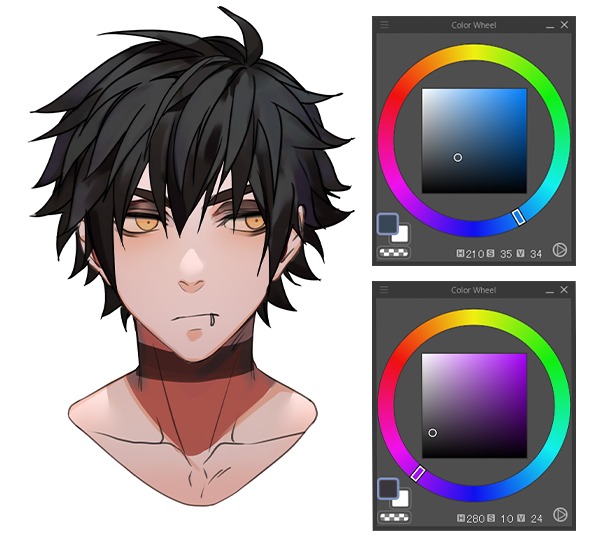
Different textures need different ways of grouping the hair. A smooth straight lock, a loose wave, a ringlet, and a tightly coiled mass sit around the same head shape but create quite different silhouettes. The differences show in the bends, clump sizes, and edge shapes.
| Texture | How to build it | What to preserve |
|---|---|---|
| Straight | Longer directional clumps with fairly smooth edges | Flow and overlaps |
| Wavy | Broad clumps with alternating bends | Rhythm along the length |
| Curly | Rounded clusters or ringlet-shaped groups | Curl pattern and overall fullness |
| Coily | Connected volume with smaller contour changes | Dense silhouette and edge texture |
Choose clump size and edge rhythm from a reference that shows the texture you want at a similar length. Curl patterns vary within each label, and stylization can exaggerate or simplify the shapes.
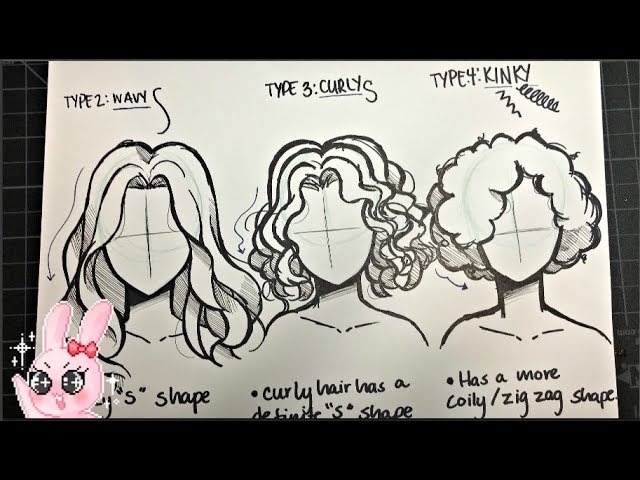
A closely cropped texture and long hanging curls need different clump arrangements even when both are called curly.
Diagnose why your manga hair looks wrong
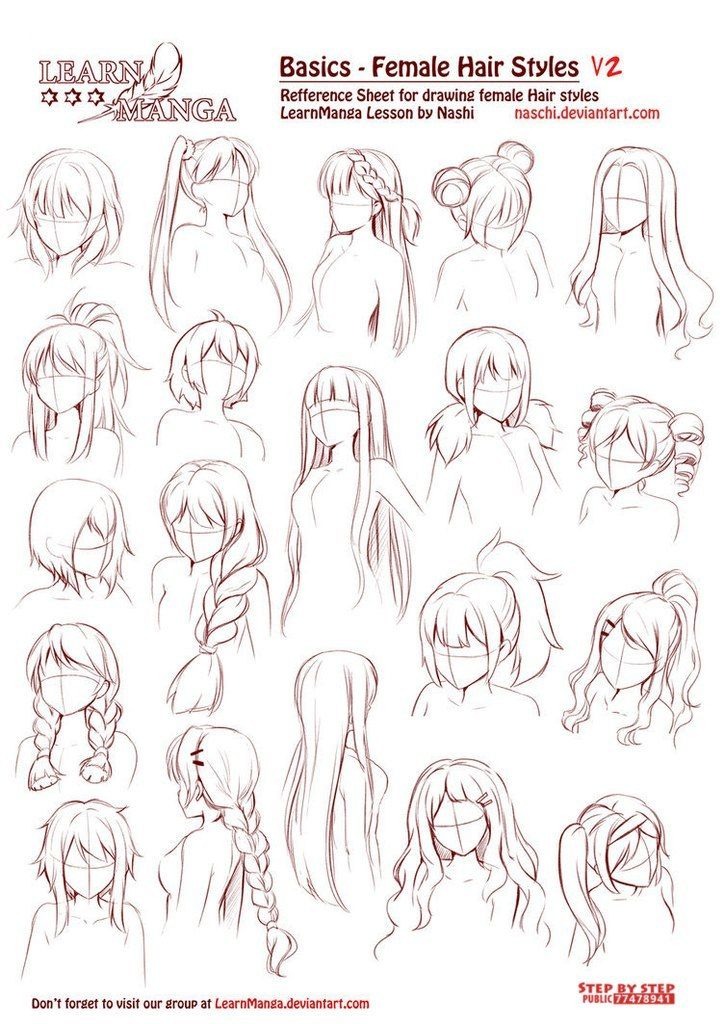
When a hairstyle looks wrong, find which construction layer causes it before you add another pass of fine lines. A problem with the outer volume needs a different fix than a problem with tip direction or crowded ink.
An artist working from a reference described the frustration in a r/learntodraw thread: “I would just keep practicing, but without knowing what I'm doing wrong I feel like I'll lose my time...” The table below lists the cause and first fix for each symptom.
| What looks wrong | Cause | First fix |
|---|---|---|
| Hair looks pasted onto the forehead | Too little outer volume or weak placement around the skull | Redraw the outer shape |
| Hairstyle looks like a helmet | Clumps and overlaps are unclear | Separate the large visible clumps |
| Bangs look like evenly spaced grass | Repeated locks have almost identical widths and tips | Vary the widths of the main clumps and the openings between them |
| Bangs point against their roots | Root guides and tips point in conflicting directions | Correct the main directional path |
| Hair changes between panels | The part or bang break jumps to a new spot without a head turn | Put the landmarks back where they were |
| Finished hair looks crowded | Small lines hide the larger shapes | Remove accent lines |
| Curly hair looks like loose waves | The clump grouping doesn’t fit the texture | Rebuild the clumps around a suitable reference |
If the original character has neatly inked bangs but almost no hair volume above the forehead, revise the outer contour first so the hair fills the space around the head. Then carry the existing bang split and side lock into the corrected contour. The tips need little or no change, since the larger form caused the mismatch.
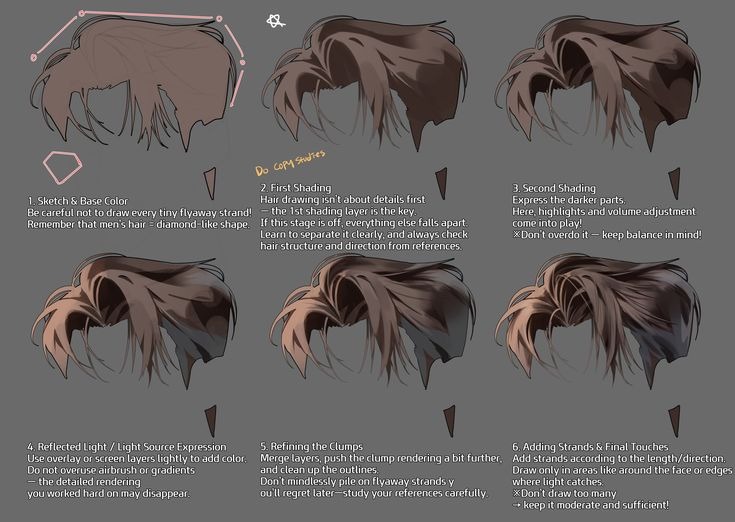
Check the hairstyle at manga-panel size

Compare the finished drawing at working size and at its intended small black-and-white panel size, and watch for a bang opening or back contour that disappears into dark line work. Very small or action-heavy panels need simpler detail to keep the haircut recognizable.