Draw the movement first, carry its direction into simple body shapes, and use weight and foreshortening to make the action clear. Test the rough figure at manga-panel size before you add costume details or effects.
Why your manga action pose looks stiff
Most stiff sketches have one fault doing most of the damage. Find it before you revise.
A runner has bent knees and swinging arms but looks like they're posing for a photo. The torso points straight up, the pelvis faces forward, and neither leg shows a clear moment in the stride. Adding muscle definition keeps the same problems.
A learner on r/learntodraw described doing 20 one-minute figure studies a day for two weeks: “I've been practicing figure/gesture drawing for the past two weeks but my poses still look stiff af.”
| Visible problem | Cause | First correction |
|---|---|---|
| The runner looks frozen | The direction or phase of the movement is unclear | Rework the gesture |
| The figure looks like a rigid mannequin | Chest, hips, and limbs all point the same way | Re-angle the ribcage and pelvis |
| A grounded character appears to float | Stance and body direction don't agree | Clarify foot contact and weight |
| A forward fist disappears into the chest | Near and far forms overlap in a confusing way | Change the viewpoint or add depth cues |
| The drawing reads only when enlarged | Silhouette, crop, or overlapping details hide the action | Judge readability at panel size |
Find the action before drawing the body
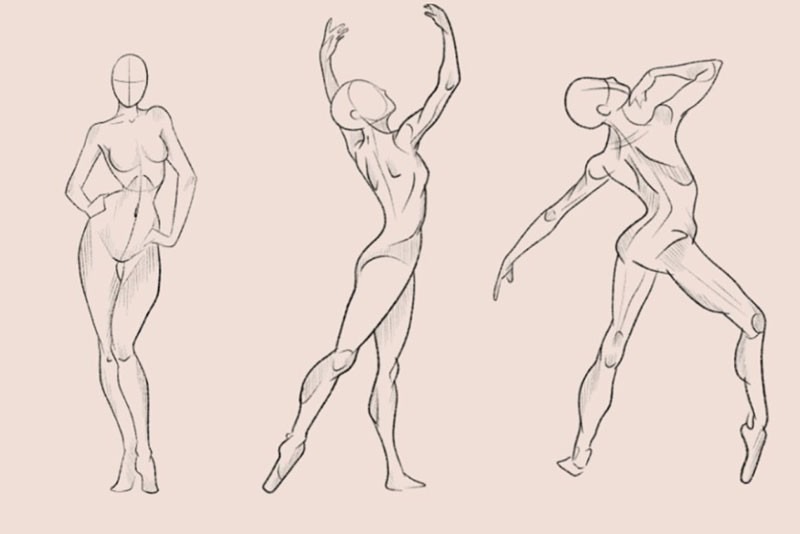
Pick one moment of movement before you outline the figure. A runner pushing off the ground, a character rising into a jump, and someone landing all need different body rhythms, even when the same limbs are bent.
In Proko's gesture-drawing lesson, Stan Prokopenko describes gesture through movement and the relationships within the pose. Quick C-shaped, S-shaped, or straighter marks carry those relationships through the figure. Connect several lines when one mark isn't enough.
- Direction: Give the head, torso, and dominant limb a relationship that shows where the figure travels or pushes.
- Rhythm: Let bends and straighter segments describe the action without tracing every outside contour.
Compare two quick sketches of the same runner at push-off. In one, the head sits above a vertical torso and the legs are nearly symmetrical. In the other, the chest leans toward travel, one leg reaches back, and the opposite arm swings forward. The second gives the reader a specific moment to recognize.
Build the ribcage, pelvis, and limbs without losing the gesture
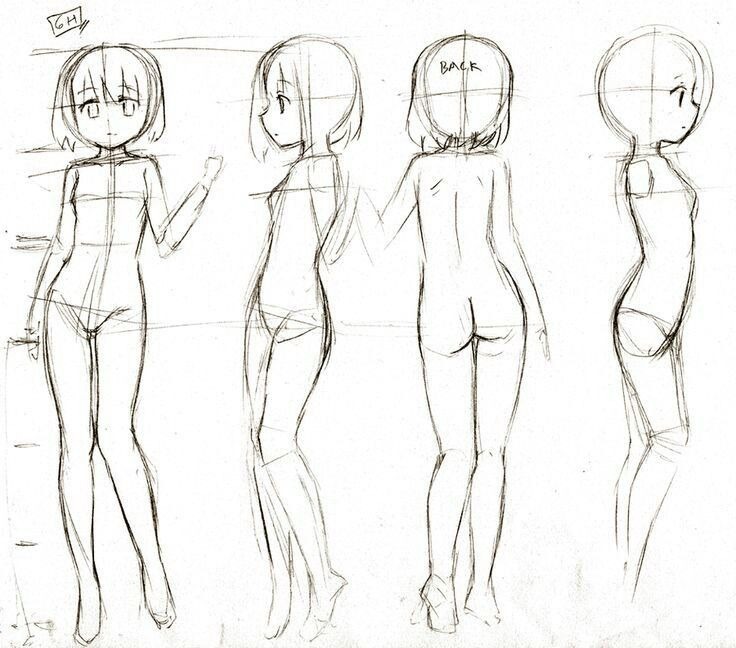
Gesture marks give the drawing movement. Simple three-dimensional shapes show which way the figure faces. Start with an egg, box, or wedge for the ribcage and a second shape for the pelvis, then tilt and turn each one to suit the action.
In the running sketch, the ribcage leans into travel while the pelvis angles with the stride. That compresses one side of the torso and lengthens the other. Two flat, parallel, front-facing boxes would hide it.
Use tapered cylinders for arms and legs, and place elbows and knees along the directions the gesture already set. Note where limbs cross in front of the torso and where they drop behind it.
Construction check: Lay the ribcage, pelvis, and limb axes over your first gesture. Find the first form that straightens the action, then change its tilt or turn while the sketch is still simple.
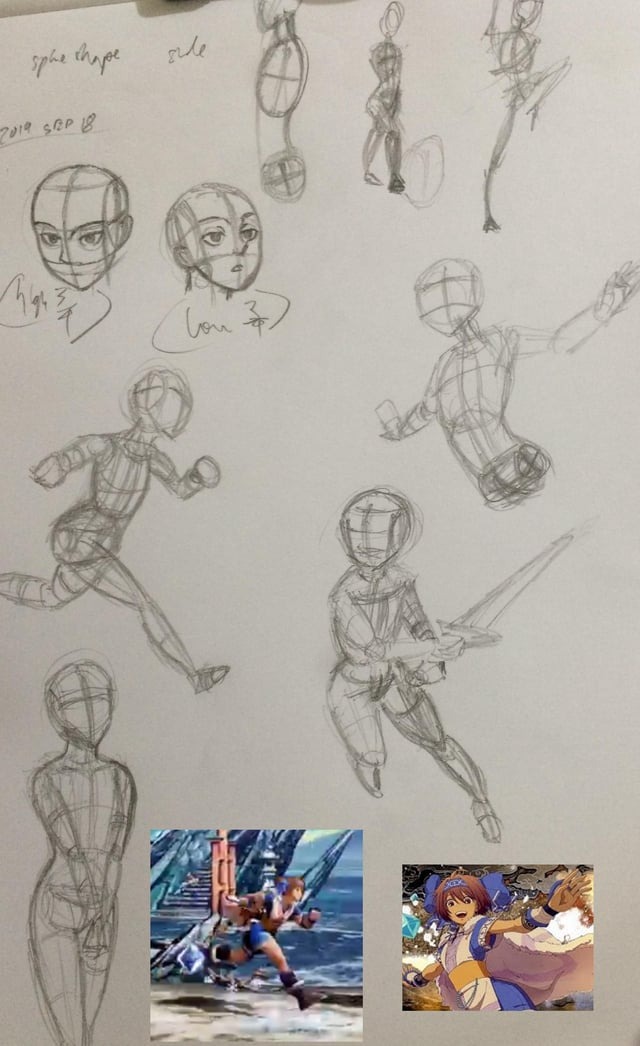
Draw the runner twice. One version uses evenly aligned boxes and straight tubular limbs. The other keeps the chest lean, the angled pelvis, and the leg reaching back. Orientation alone changes the result.
Boxes and cylinders are temporary. Reshape or replace them when they flatten the movement. Once the main masses fit together, draw the outer contours to describe muscle, fabric, and the finished character.
Show weight, contact, and controlled exaggeration

A grounded figure and an airborne one show weight in different ways. MediBang's contrapposto instruction describes a standing example: one leg carries much of the weight while the shoulder and hip tilts can differ. A jump or deliberate fall reads through the body's direction of travel.
| Moment | Visual cue | Common misread |
|---|---|---|
| Grounded push or strike | Visible foot contact, with leg and torso leaning the same way | The body looks detached from its stance |
| Airborne jump or fall | Torso and limbs show the direction of flight or fall | The character looks accidentally suspended |
| Landing or bracing | Contact and body bend show the transition | The figure looks like an unrelated static pose |
Exaggeration works when it makes the action easier to read. A grounded counterpunch sends the fist forward while the torso retreats slightly. The shoulder, hip, and planted leg still have to show the same moment.
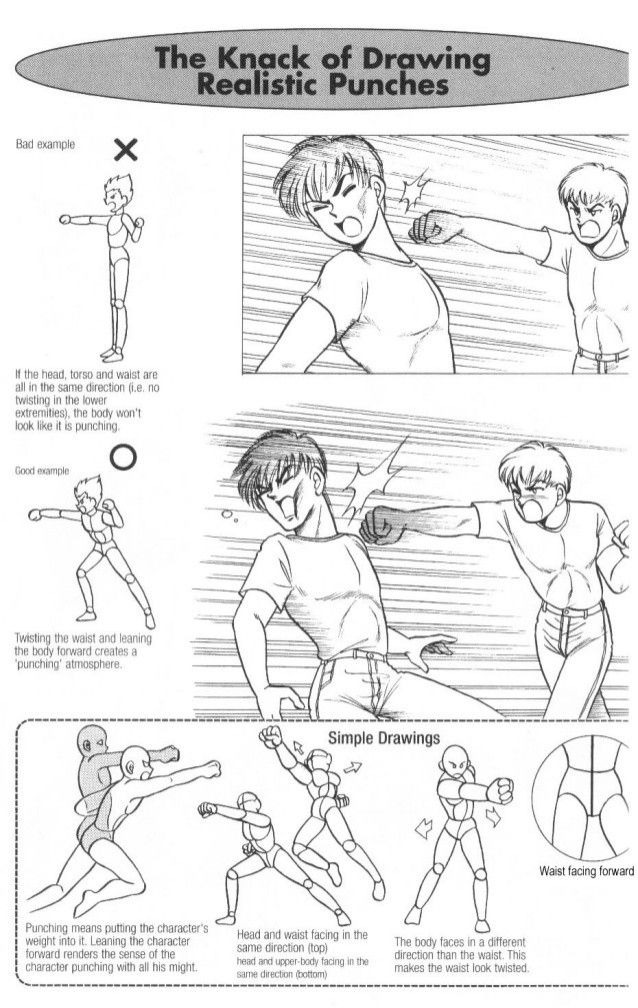
For your pose, decide whether the character has a planted foot or is moving through the air, then adjust one weight or movement cue to match.
Hair, clothing, and props reinforce a direction that's already clear through secondary movement. Add them once the main body arrangement reads.
Use camera angle, overlap, and foreshortening to create depth
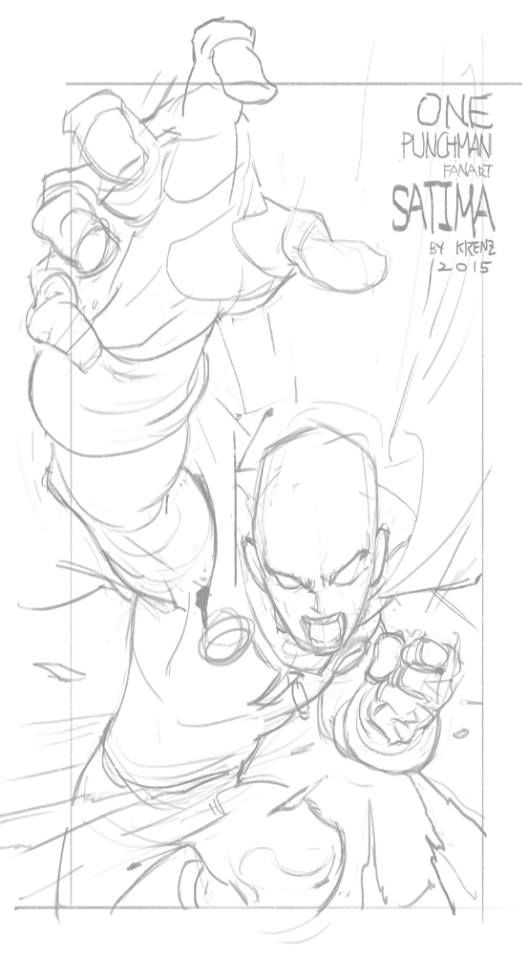
The same pose says different things from different angles. A side view shows the full reach of an arm, while a three-quarter view makes the turn of the chest and pelvis easier to see.
An artist on r/ArtistLounge, describing difficulty with viewpoints beyond the front, wrote: “Im pretty happy with my style, but it leans more towards simple and I struggle with trying perspectives and angles other then forward, and I feel its somewhat holding me back.”
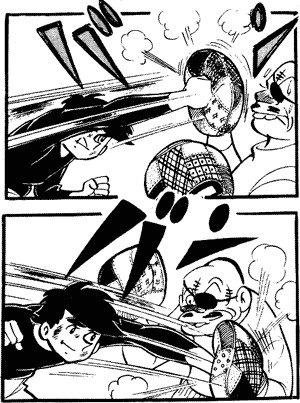
A punch looks different seen from the side, from three-quarters, and with the fist aimed at the viewer. The arm's real length doesn't change. Pointed toward the camera, it looks shorter and the hand takes up more of the foreground. That's foreshortening.

- Torso orientation: The visible faces of the chest and pelvis show where the body is turned.
- Near and far forms: Overlap shows which arm, leg, or body mass sits closest to the viewer.
Redraw one limb or body mass from another camera angle without changing the action. See whether the new overlap makes the movement easier to recognize. If extreme foreshortening hides how the body parts connect, pick a less aggressive view.
To test angles quickly, Clip Studio Paint includes adjustable 3D drawing figures. Its Manga Perspective setting emphasizes apparent depth without changing the underlying pose angle.
Worked fix: turn a stiff punch into a readable action pose
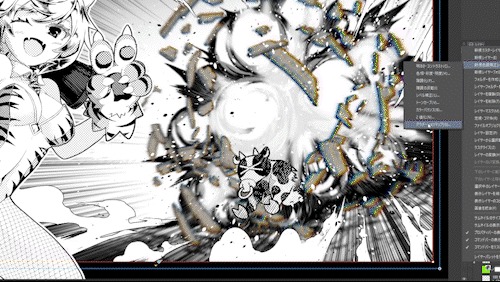
A character throws a grounded forward punch, with the camera at three-quarter view throughout. The arm extends, but the torso stands nearly upright, the pelvis faces squarely forward, the rear leg looks detached from the movement, and the fist merges with the forearm. Costume and facial detail are left out.
On r/ArtistLounge, an artist familiar with basic construction wrote: “I use the line of action and boxes and circles for poses but I'm not getting the results I want.” The steps below give each of those marks a single job.
1. Keep the flawed rough as your baseline
Keep the original drawing beside the revision. The action stays a forward punch, and the character and viewpoint stay fixed.
2. Change the gesture
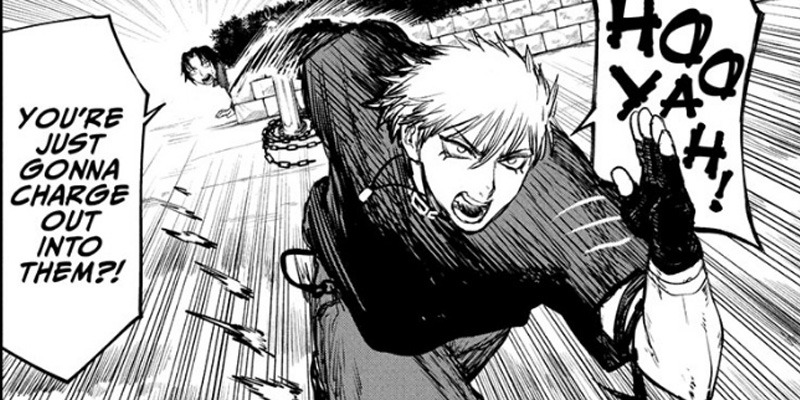
Lean the chest toward the punch and carry that lean through the hips to the legs. Draw the forward fist on the same path. The character now has a clear direction to build on.
3. Rebuild the body masses
Turn the ribcage enough to show a different face from the pelvis. Point the upper arm toward the extended forearm and mark the elbow where those forms change direction. Keep the torso's lean and rotation through this pass.
4. Clarify stance and depth
Place the front foot in clear contact with the ground beneath a bent supporting leg, and keep the rear foot visibly behind the pelvis so it fits the stance. Separate the near fist from the forearm with a readable overlap, and adjust the forearm's apparent length for the three-quarter view.
5. Compare the simplified poses
Strip both sketches back to the outer gesture, torso direction, leg placement, and arm overlap. Change one thing per revision and look for a specific difference in the action.
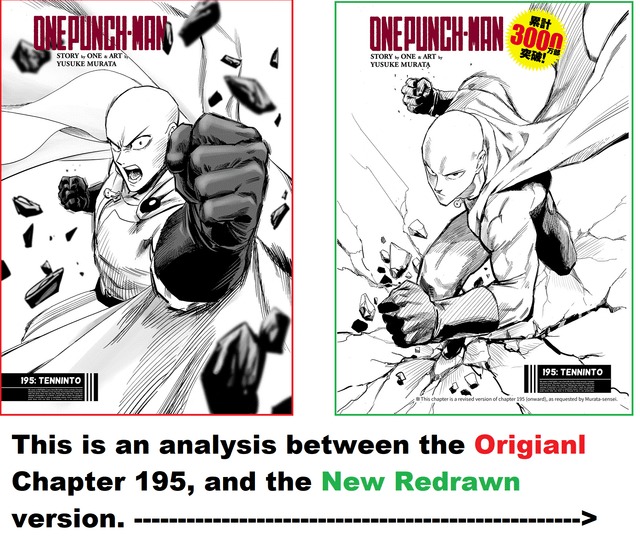
Test whether the action still reads in a manga panel
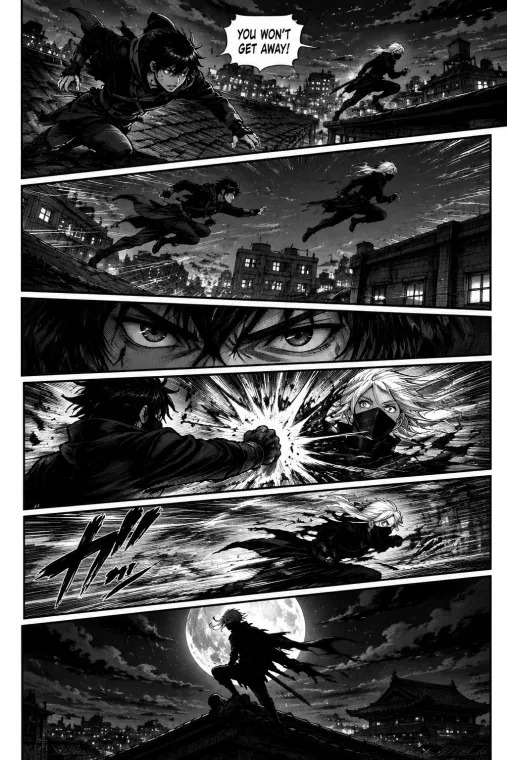
A pose that looks clear in a large study can turn confusing at small manga-panel size. Put the same simplified figure inside its intended panel crop at the size readers will see, whether in print or on screen. Ask someone to name the action without a hint. If the fist disappears into the chest or the crop cuts off the supporting foot, revise the overlap or framing while the drawing is still rough.
Practice with references and learn from each revision
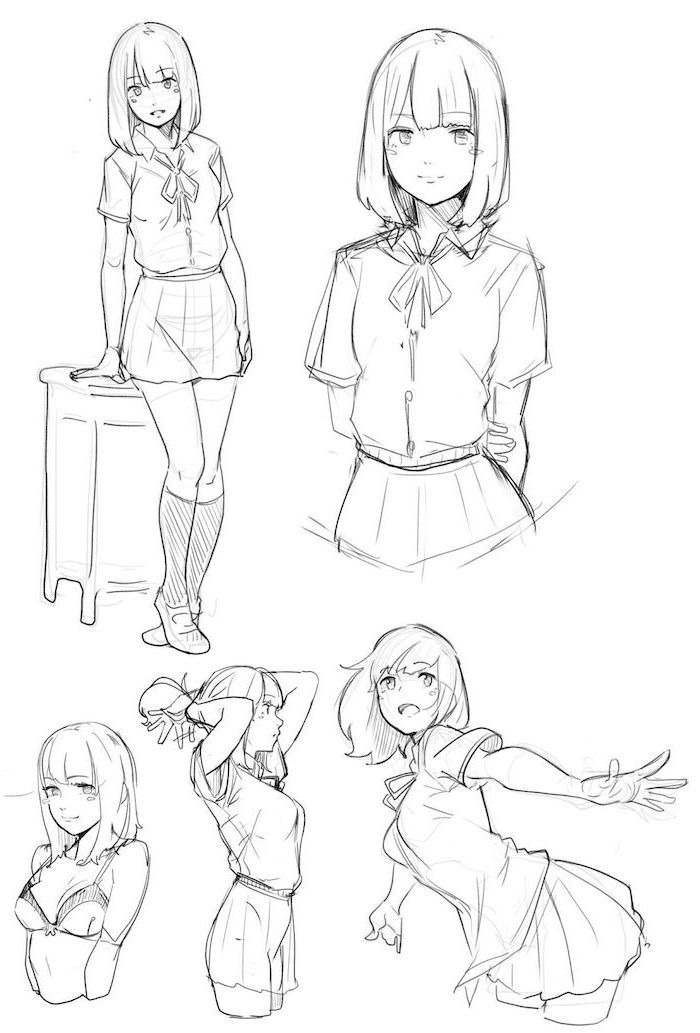
Reference practice works when each attempt answers one drawing question. A clear photograph, a still from a movement you recorded, or a poseable figure shows the shoulder, pelvis, and limb relationships at a set point in a movement.
Try a running push-off or the start of a landing, and follow one short exercise:
- Observe: Find the direction of the torso and the placement of the hips and major limbs in the reference.
- Sketch: Make a short gesture study of that moment.
- Reconstruct: Draw the figure with simple forms from memory, checking the reference when you need it.
- Compare: Find the biggest gap in direction, body orientation, or overlapping forms.
- Revise: Draw it again with that gap fixed, and note what changed.
If your first running sketch gets the travel direction but leaves the pelvis level, the second attempt changes the pelvis angle and keeps the movement. The third works on the rear leg's angle.
For timed practice, Line of Action offers gesture exercises and class-style sessions. Quickposes lists selectable intervals of 30, 45, 60, 90, 120, 180, and 300 seconds. Pick the interval that gives you time to see the relationship you're studying. If the timer pushes you into hurried contour copying, choose more time or simplify the task.
Paper and pencil are enough. A poseable 3D figure is optional help for viewpoints that are hard to find in photographs.