Start with a neutral eye drawing. Change the eyebrows, eyelids, and gaze before you add pupil or catchlight effects. If the feeling shifts once the mouth and scene are visible, revise the whole expression. Judge it at the size of the finished panel.
Glossy irises and perfectly tapered lashes make a beautiful eye and still leave the face strangely blank. A brow tilted slightly too far, or a lid opened too wide, gives the character the opposite mood from the one you intended.
Start with one neutral manga eye design
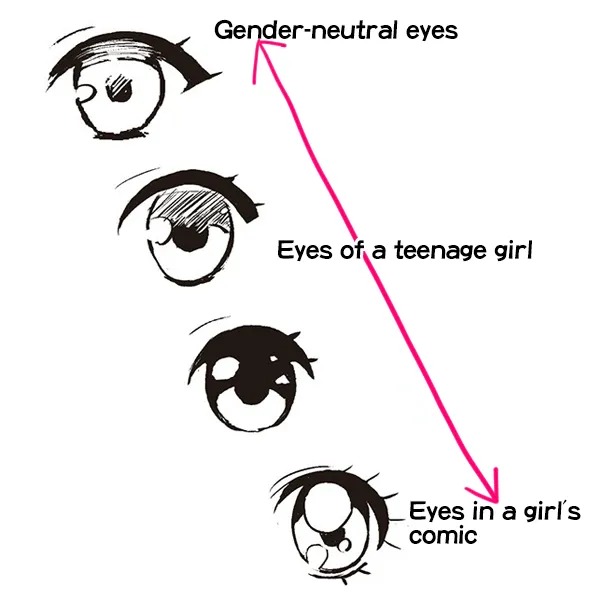
The neutral drawing is what you return to when you draw the same character smiling, startled, or angry. Begin with light, erasable construction marks in a simple front view.
A beginner on r/learntodraw wrote in July 2026: “when it comes to anime eyes I just have no idea what im doing” (r/learntodraw discussion). Simple contours keep the design easy to read before you add details.
- Outline the opening. Draw the upper eyelid first, using the curve or angle that belongs to this character. Add a lighter lower-lid contour beneath it. The gap between them is the eye opening.
- Set the gaze. Place the iris in the opening. The upper lid can cover part of it. Put the pupil inside the iris. The exposed sclera, the white of the eye, is part of the design.
- Draw the eyebrow separately. Mark both its inner and outer ends. Leave enough space between brow and eye to see later changes in its angle and height.
- Fix the details that make the eye recognizable. Set the eye corners, the approximate width-to-height relationship, the lash silhouette, and the line weight. Copy the construction for the second eye, placing it consistently on the front-facing head.
Leave the catchlight and elaborate iris shading until the basic shapes are settled. On the neutral drawing, label the upper lid, lower lid, eyebrow, iris, pupil, and sclera. You will change these parts later.
Manga eye styles vary widely. The neutral drawing sets the proportions for one character in the style you chose.
Four controls that change a manga eye's expression
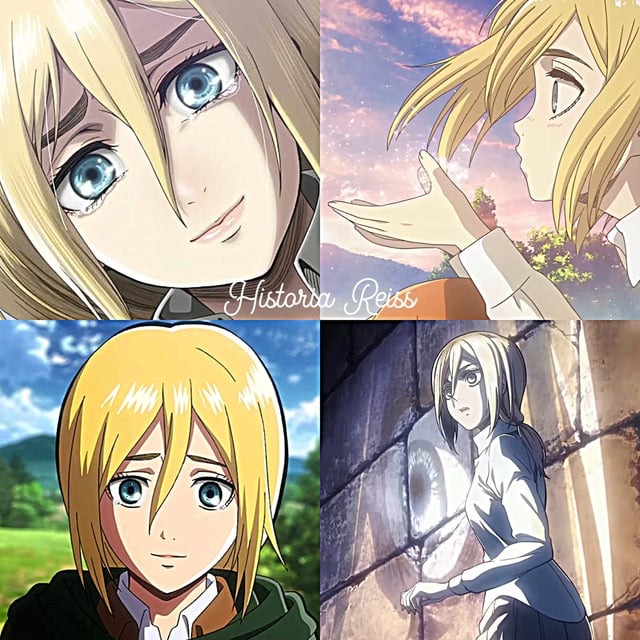
Four controls change an expression: eyebrows, eyelids, gaze, and iris or pupil styling. The first three set shape and direction. The fourth strengthens the effect.
| Control | What you change | What becomes visible | What can go wrong |
|---|---|---|---|
| Eyebrows | Inner or outer end, angle, height, curve | More or less tension above the eye | An intended calm look becomes troubled |
| Eyelids | Upper and lower contours, space between them | Wider opening, tighter squint, different iris or sclera exposure | A neutral eye appears startled or sleepy |
| Gaze | Iris and pupil position inside the opening | Attention aimed forward, sideways, or down | The character looks toward the wrong thing |
| Stylized iris or pupil | Drawn scale, simplification, catchlights | Extra visual emphasis | Detail overwhelms the main contour |
Make four copies of the neutral drawing. In the first, rotate the eyebrow only, lifting its outer end. In the second, keep the original brow and raise the upper lid to show more iris and sclera. In the third, restore the original opening and shift the iris to one side. In the fourth, keep the geometry steady and simplify the pupil or change a catchlight. Each copy shows one edited feature against the unchanged neutral drawing.
In the Clip Studio TIPS tutorial, artist symson treats eyebrow position, pupil placement, and eyelid position as separate expressive choices. The tutorial also separates subtle effects from exaggerated manga styling.
Draw different emotions from the same eyes
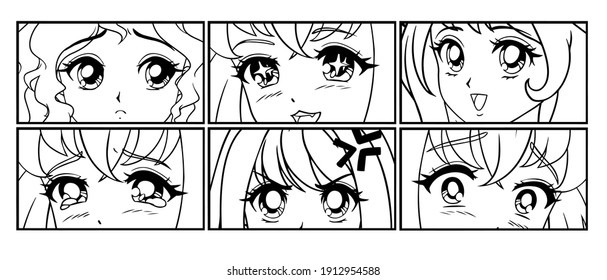
Combine the controls to draw happy, sad, angry, surprised, worried, and bored versions of your character. These six are a working set for practice. Other manga styles use other shapes.
| Emotion | Brow and eyelid option | Gaze or iris option | Often mistaken for |
|---|---|---|---|
| Happy | Softer brow, slight lift of the lower lid, narrower opening | Looking at someone the character is glad to see | A strained squint |
| Sad | Inner brow ends lifted, lids relaxed or heavy | Lowered or averted gaze | Worry |
| Angry | Inward brow tension, firm upper-lid line | Focused gaze | Distress |
| Surprised | Raised brows and wider opening | More iris or sclera showing | Fear |
| Worried or scared | Tense inner brows, alert lids | Gaze toward a possible threat | Surprise |
| Bored or unimpressed | Subdued brow, partly lowered upper lids | Sideways or unfocused gaze | Tiredness |
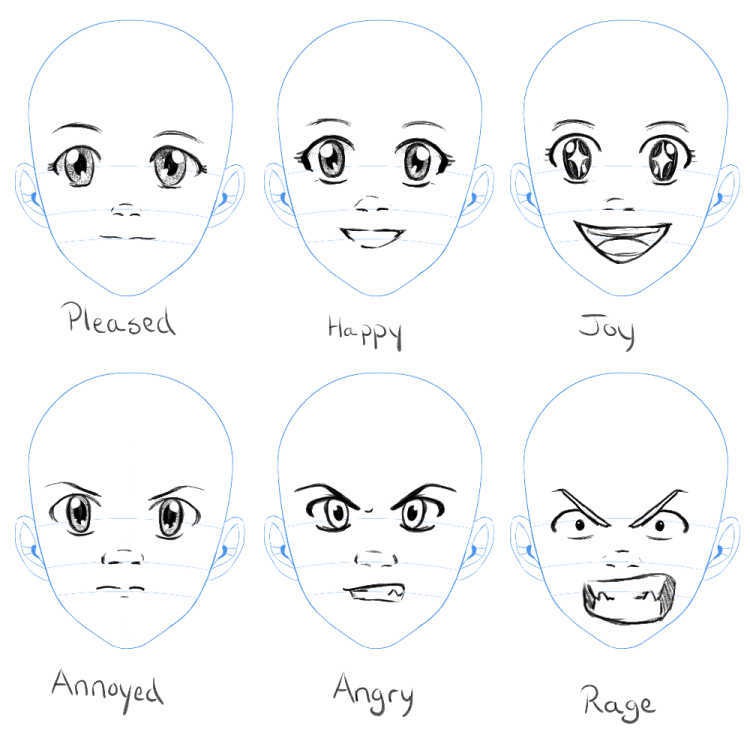
Draw surprise step by step
Your character hears an unexpected noise behind a door. Keep the eye corners, lash style, and distance between the eyes from the neutral drawing. That continuity makes the changes easy to see.
- Lift the eyebrows. Move the brows up and keep their thickness and general shape. The space above the eyes opens.
- Open the lids. Raise the upper-lid contours and, if the design allows, lower the bottom contours slightly. More of each iris and the surrounding white shows.
- Aim the gaze. Point both irises at the door. Keep their directions consistent so the eyes clearly look at one thing.
- Compare with the neutral drawing. Put the two versions side by side and mark the lines that moved. The wider opening and raised brows read clearly even with plain, unshaded irises.
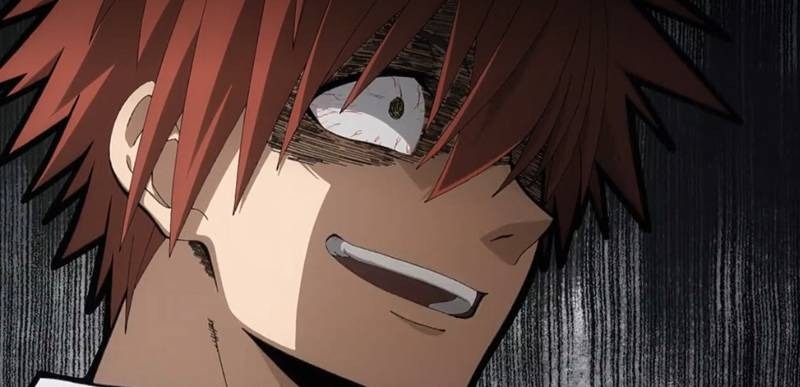
If the character recognizes danger behind that door, keep some of the widened opening and tighten the inner brows and lower lids.
Other scenes call for different choices: a friendly arrival for happiness, bad news for sadness, an insult for anger, a dull conversation for boredom.
Keep the character recognizable as expressions intensify
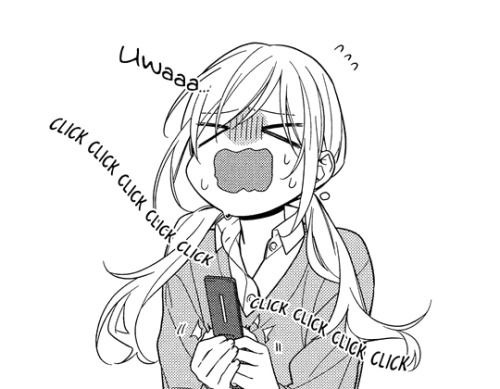
A quiet surprise raises the brows slightly. A clearer reaction opens the lids further. A comic shock can stretch the whole eye into an exaggerated shape. At every level, keep the character's usual eye silhouette, spacing, lash style, and face design, so readers know it is the same character. In comedy, you can distort even these anchors and the character still reads as themselves.
Fix manga eyes and eyebrows that look off
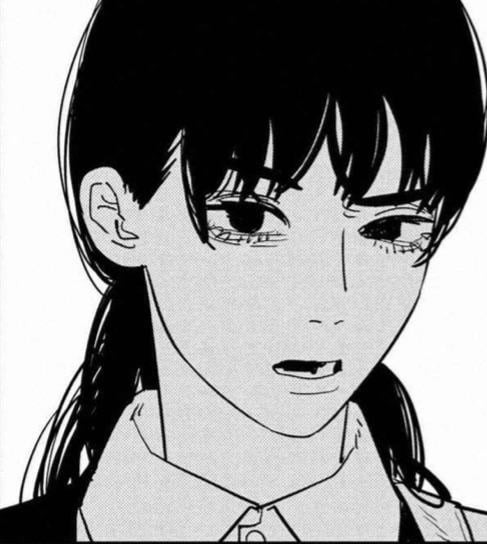
When an expression looks wrong, find what's off. Two irises aimed at different points, or brows carrying unintended tension, change the whole face.
After about a week of practicing anime heads, a beginner on r/learntodraw wrote: “And the most annoying thing is drawing anime eyes and specially eyebrows it's always looks off” (r/learntodraw discussion).
| What looks wrong | First feature to inspect | Fix |
|---|---|---|
| Eyes look in separate directions | Position of both irises within the lids | Point both irises at the same spot |
| Neutral face looks startled | Upper-lid height and visible sclera | Lower the lid to match the neutral drawing |
| Relaxed face looks anxious | Inner brow angles and brow-to-eye distance | Relax the brows |
| One eye appears much higher or larger | Eye corners and lid contours | Compare placement in front view and redraw to match |
| Eyes seem detached from the head | Placement against the simple face outline | Fix the head relationship before refining eye details |
If the right iris drifts toward the outer corner while the left stays centered, circle it on a copy of the drawing and move it back. Leave the rest of the eye alone.
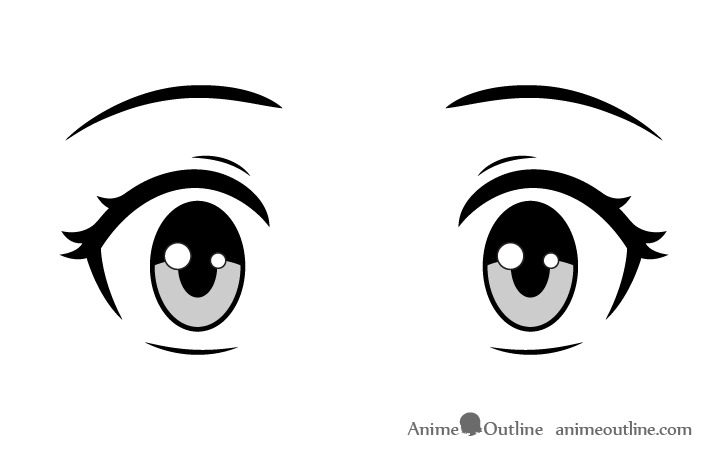
If the eyes stay misplaced as the head turns, the next task is broader face and perspective construction.
Read the eyes with the rest of the face
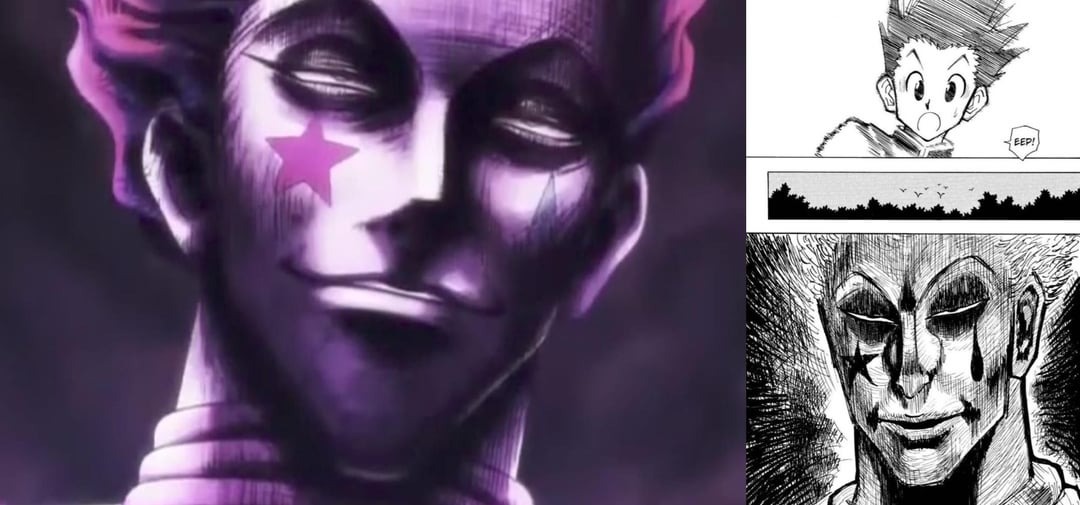
Cheerful eyes above a strained mouth change how the whole face reads. The way lids, cheeks, brows, and the immediate story work together supports a warm smile or creates deliberate unease. MediBang's guidance on smiles notes that the lower eyelid may rise as the cheeks lift.
A commenter on r/learnart, discussing a smile, wrote: “It’s something about the eyes. When I cover the eyes and mouth look like a slight smile until I uncover the eyes.” (r/learnart discussion).
A character greets a close friend with a small smile and softened eyes. In another scene, the same character smiles politely while worrying about what the other person knows. A tighter brow or an averted gaze gives that second smile a guarded quality, even with a similar mouth.
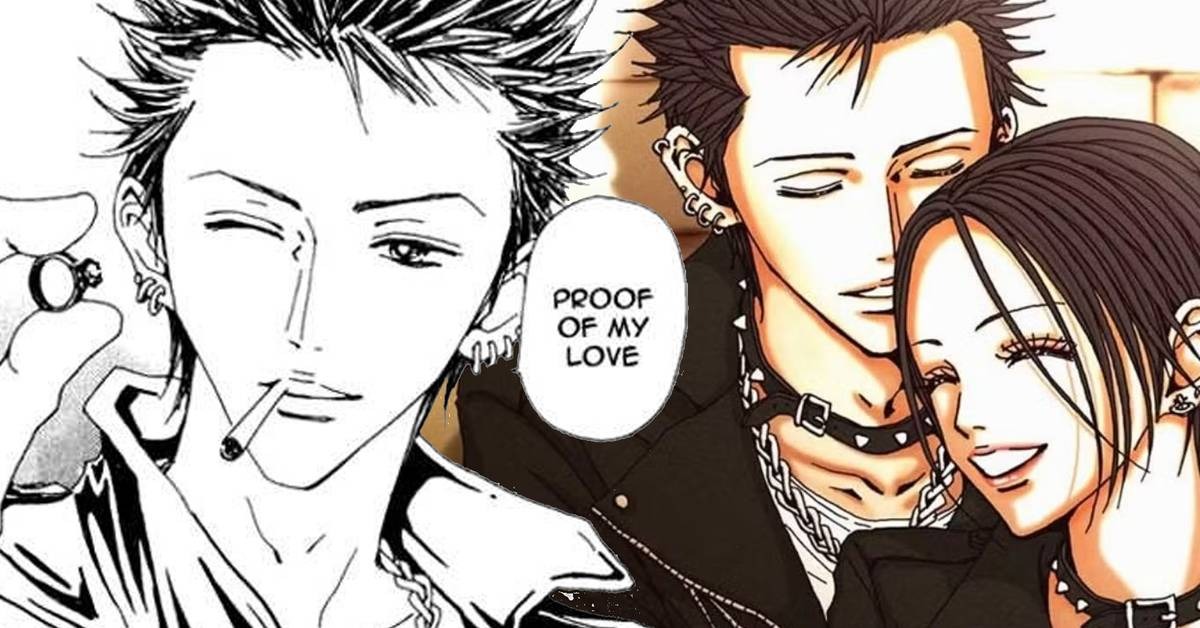
Hold the eyes up against the full face and the panel's situation. If the cues conflict by accident, adjust the broader expression. If the conflict conveys concealed feelings, leave it.
Make the expression read in black-and-white manga panels
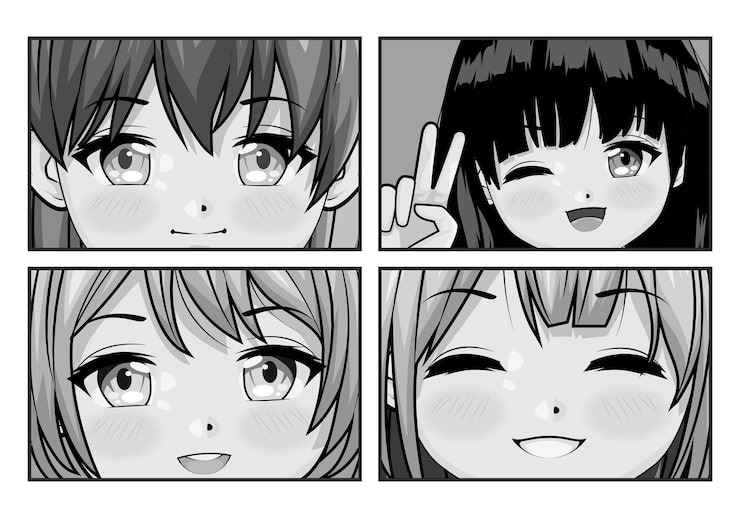
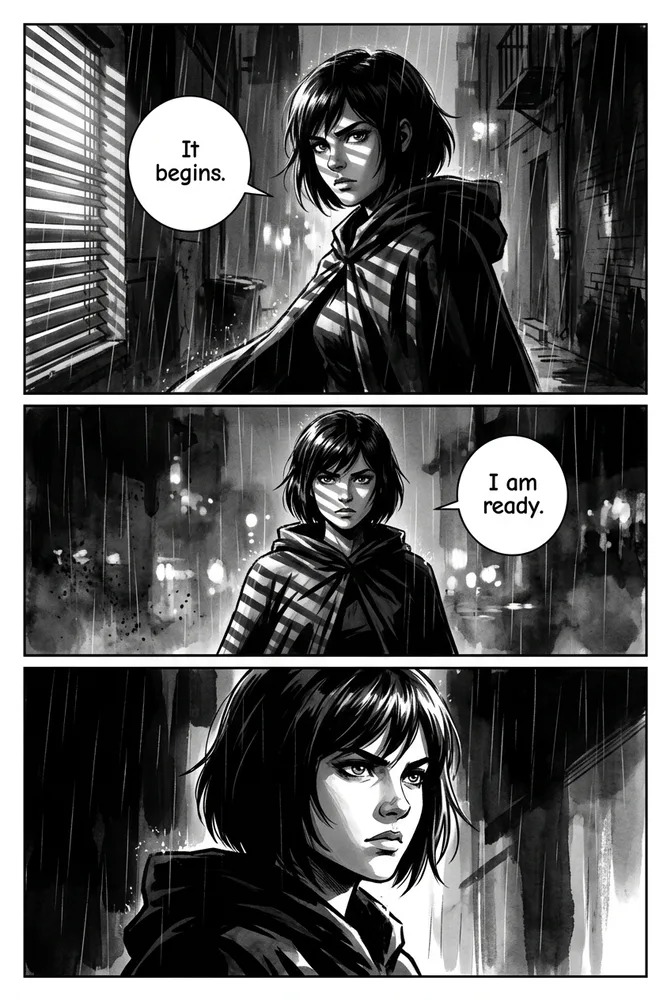
Monochrome manga eyes depend on clear contours, visible contrast, and a gaze that holds up at the character's final size. Fine iris marks can look striking in a close-up and vanish into the surrounding ink when the same face appears in a small dialogue panel.
A skeptical glance shows it: a sloping brow, half-lowered upper lid, and off-center iris establish the expression in an enlarged drawing. In the smaller panel, the brow silhouette and the gap between the lids carry more of the expression, while closely packed catchlights and lash strokes merge into dark patches.
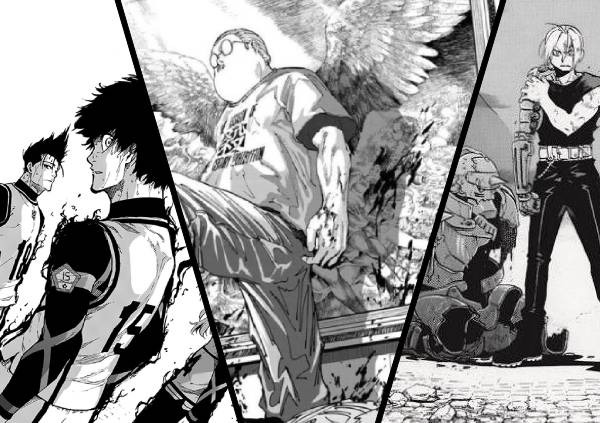
View the black-and-white drawing at the size it will occupy on the actual page. If an important cue disappears, simplify the competing detail or clarify that feature's contour. Then look again at the same size.
Practice with a one-character expression sheet
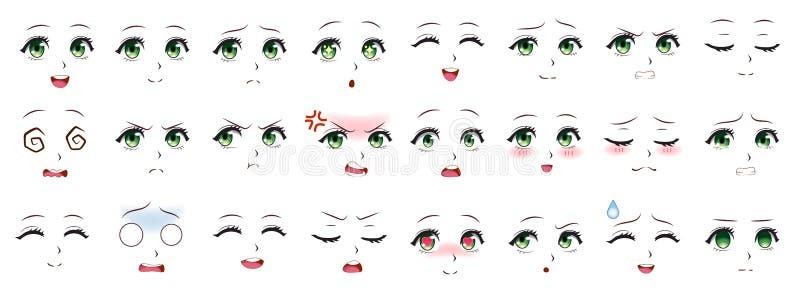
An expression sheet records the feeling you intended, the features you changed, and what a viewer sees. MediBang Paint suggests facial-expression charts, studying your own face in a mirror or selfie, and observing scenes in film or anime.
Make a compact grid for the same original character, using the six expression labels from the earlier comparison. Keep three columns of notes beside the drawings:
| Intended feeling | Feature changed in the drawing | What the reader sees |
|---|---|---|
| Happy | Write what you altered | Leave blank for a reader |
| Worried | Write what you altered | Leave blank for a reader |
| Angry | Write what you altered | Leave blank for a reader |
Hide the emotion labels and, if someone is available, ask what each drawing seems to express. If someone describes your happy sketch as strained, compare its brow and lid tension with the neutral drawing, change one feature, and ask what the new version expresses.
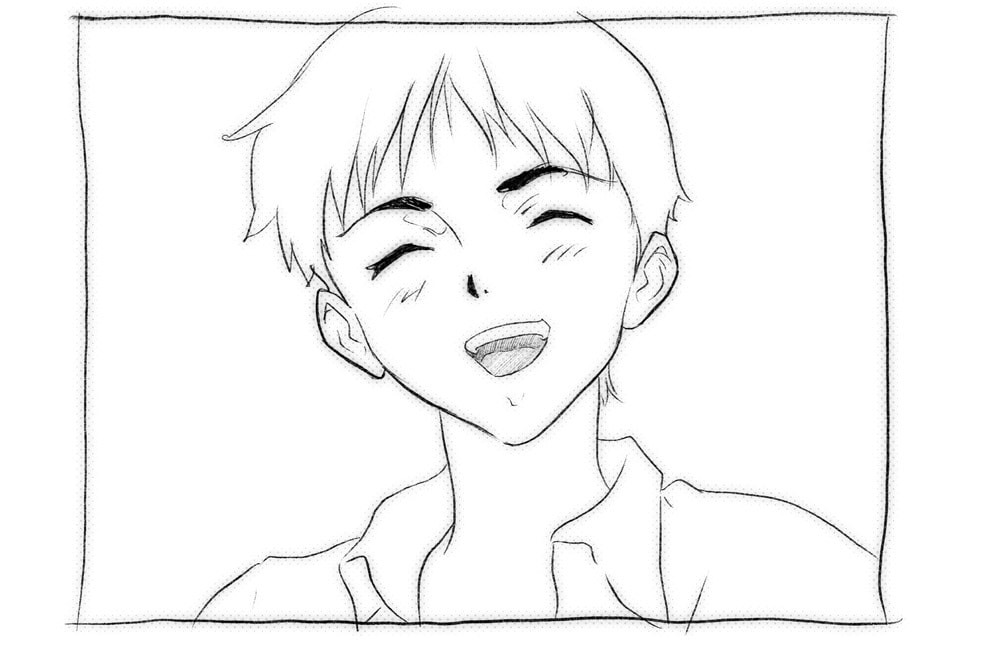
How should I adapt an anime reference for artwork I plan to publish?Draw the expression on your own character with your own linework. If you use third-party material, clear the rights before you publish.