For a first one-shot, choose the smallest manga story that reaches a real ending. Give it a page budget you can finish. Test the rough pages before inking. If you’re submitting to a publisher or contest, follow that program’s current limits instead of a universal page-count rule. Start by writing the ending and the one conflict that leads to it.
A one-shot is a manga story that stands on its own. It has a beginning, a change, and an outcome the reader can understand without another chapter. An elaborate fictional world can wait. The hard decisions are smaller: where the story begins, what you can remove, and which moment deserves the final page.
One invented story about a borrowed sketchbook runs through this guide: its premise, a 12-page plan, scene cuts, rough panels, and finished pages.
What counts as a one-shot manga?
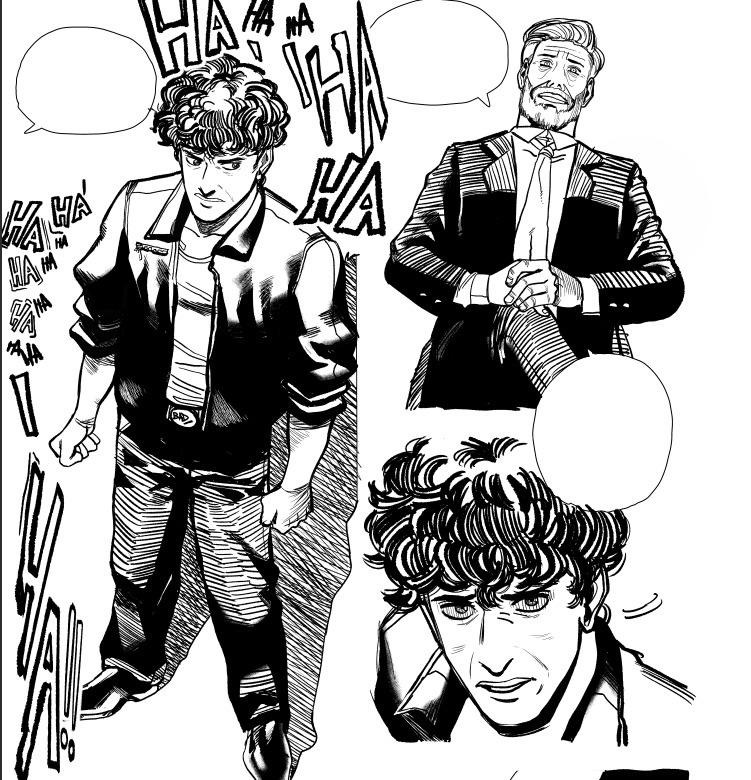
A one-shot, sometimes called yomikiri, answers its own central question. The characters can return in another story, but this one gives the reader a clear outcome.
| Format | What the reader receives | Where it ends |
|---|---|---|
| One-shot | A central problem, its development, and a consequence | The central conflict reaches a meaningful outcome |
| Pilot or first chapter | The opening of an ongoing plot or larger story | The story expects further chapters |
| Excerpt | A fight, encounter, or scene taken from a larger story | Important causes or consequences are missing |
A creator working on a larger story asked on r/Mangamakers in July 2025, “Do I just make a chapter about some big cool fight that happens in the middle of the story?” The scene works as a short story when the reader knows what the fighters want, what is at risk, and what their clash settles.
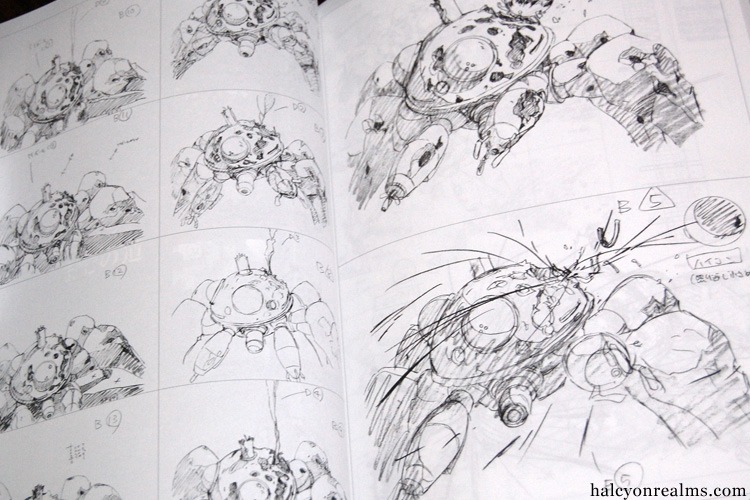
Take the example story. June has borrowed Alex's sketchbook, and Alex is leaving town. Does she return it, and what happens when she does?
A version that ends as June approaches Alex is only the opening to the confrontation. A version that shows the exchange and its consequence stands alone. Write down your story's central question and the event that answers it. If the only answer is “in the next chapter,” the idea still needs an ending of its own.
Decide whether you're making a practice story, a pitch, or a contest entry
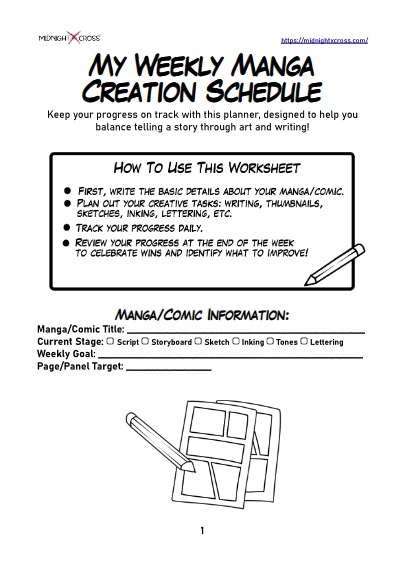
Choose the outcome before counting pages. Label your outline practice, share, submit to [publisher], or enter [contest/round]. A private project, including one made with a friend, needs an agreed story and deliverable.
Formal programs ask for specific materials. VIZ Originals' proposed-series route, for example, requests at least 10 black-and-white sequential sample pages plus a series summary and outline. SILENT MANGA AUDITION requires storytelling without dialogue while permitting sound effects, so its artists must carry the action through images.
How many pages should a manga one-shot be?
There's no universal one-shot length. The total depends on your story, the effort you can put in, and the destination if you plan to submit.
| Project or destination | Page guidance | How to use it |
|---|---|---|
| Beginner practice exercise | 8 to 16 pages | Target for a first story, as a beginner exercise suggested by Create Comic |
| VIZ one-shot submissions | 20 to 50 pages | Plan to this range for a VIZ submission |
| MANGA Plus Creators | Up to 100 pages per submission | Platform limit. Monthly Awards recommend more than eight pages |
| SILENT MANGA AUDITION | Generally 17 pages or fewer | Competition guideline. The individual round sets the applicable rules |
See the VIZ submission guidelines, MANGA Plus Creators FAQ, and SILENT MANGA AUDITION rules for their conditions. That eight-page recommendation isn't a strict minimum, and the Monthly Awards route also accepts unfinished stories.
Another poster whose one-shot was growing asked in January 2025, “should i make it as long as i need or shorten it? either way i worry im limiting myself.” Cut an essential moment and the story stops making sense. Keep every scene you like and you won't finish.
Give June and Alex's story 12 pages as a practice budget. That's enough room for the book's return, the misunderstanding, the encounter and the resolution. It doesn't meet VIZ's stated 20-page submission minimum. Set a total for your own project that meets any destination requirement.
Build a one-shot premise around one conflict and an ending
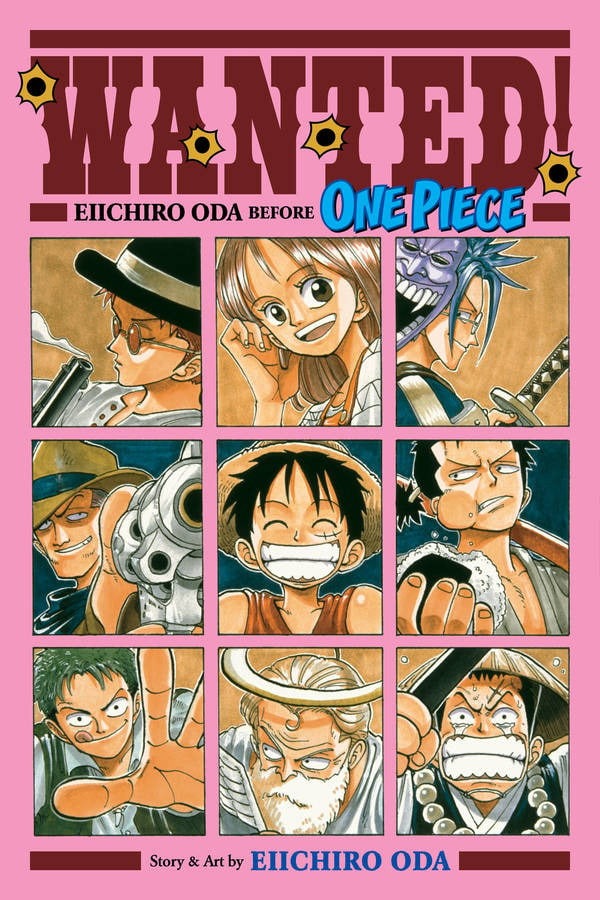
A compact premise links someone's goal, an obstacle that matters to them, and a choice that produces an outcome. That gives every drawing a purpose, even in a familiar setting.
June needs to return Alex's sketchbook before Alex moves away. On one page she finds an unfinished drawing of herself with a fierce scowl and one finger raised, as if Alex were making fun of her temper. She's hurt, and returning the book means facing someone she thinks dislikes her.
The planned ending changes that reading. Alex turns to the facing page, revealing the complete drawing: June is pointing a classmate away from Alex, who stands behind her clutching an unfinished drawing. Alex drew the day June defended them. June realizes her angry-looking pose was an act of kindness, and the two speak honestly before saying goodbye.
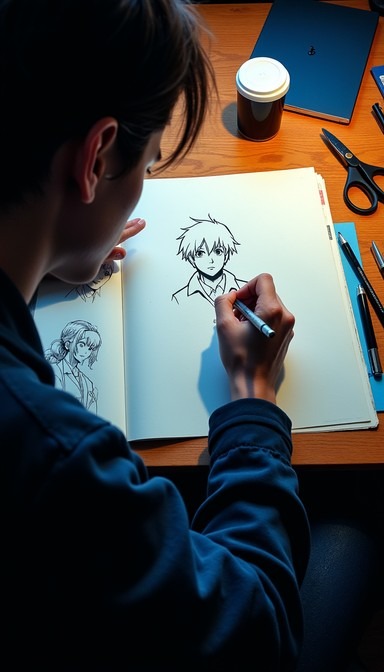
The core fits on a small premise card:
- Goal: June must return Alex's borrowed sketchbook before the move.
- Obstacle: June mistakes a fragment of Alex's drawing for an insulting caricature.
- Choice: She approaches Alex and returns the book despite feeling hurt.
- Outcome: Alex shows the entire drawing, and they resolve the misunderstanding in person.
A school setting lets posture, a single drawing and a brief conversation carry the action, with no powers, factions or histories to explain. Use the card to find your character's decisive act and the ending it leads to.
Turn the story into beats and give the ending enough pages
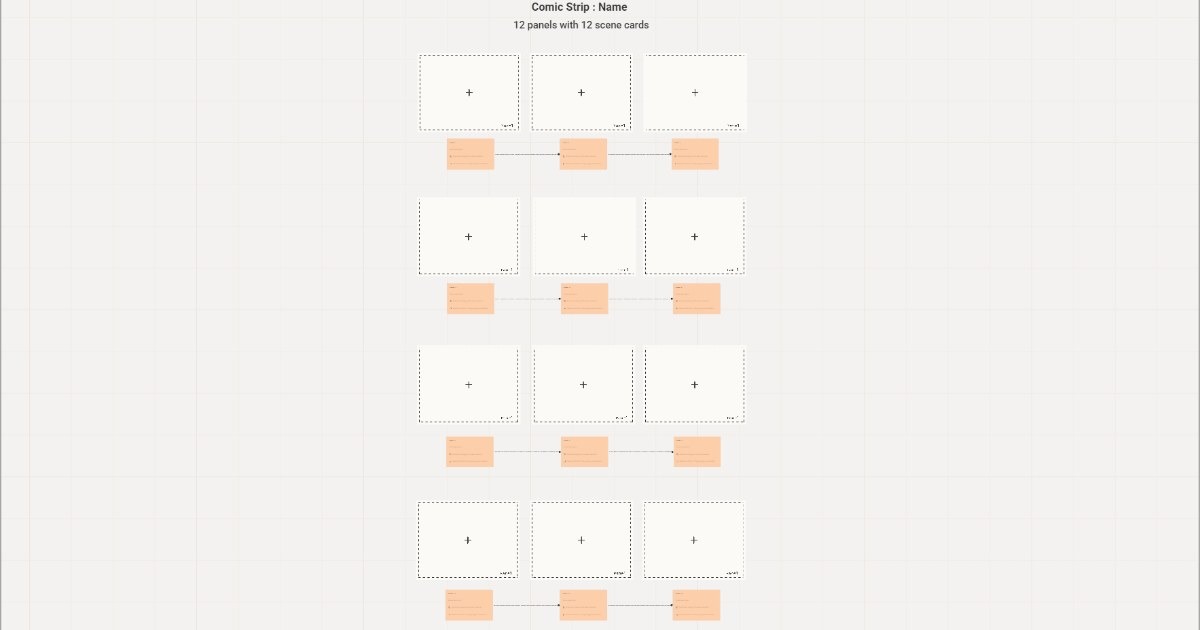
Story beats are changes in knowledge, action or intention. Mapping them onto pages shows which scenes earn their pages and where the ending runs short.
A poster recalling an early one-shot wrote in August 2023, “I took my time at first then had to rush the end because it was getting too long.” A beat map shows that imbalance while you can still rearrange everything.
A complete 12-page beat map
| Pages | What changes | What the reader learns | Why the beat stays |
|---|---|---|---|
| 1 to 2 | June finds the borrowed sketchbook | Alex is leaving and June has little time to return it | Sets the goal |
| 3 to 4 | June sees the partial drawing and withdraws | She believes Alex resents her | Creates the misunderstanding |
| 5 to 7 | June avoids the encounter as the departure nears | Delay increases the cost of facing Alex | Builds the obstacle |
| 8 to 10 | June approaches Alex, returns the book, sees the full drawing | Alex remembers June defending them | Carries the choice and the reveal |
| 11 to 12 | June apologizes, and Alex leaves with the book | The misunderstanding is resolved | Gives the ending room |
These ranges use 2 + 2 + 3 + 3 + 2 pages, for a total of 12. The drawing's meaning changes on page 10, leaving pages 11 and 12 for June's apology and the goodbye.
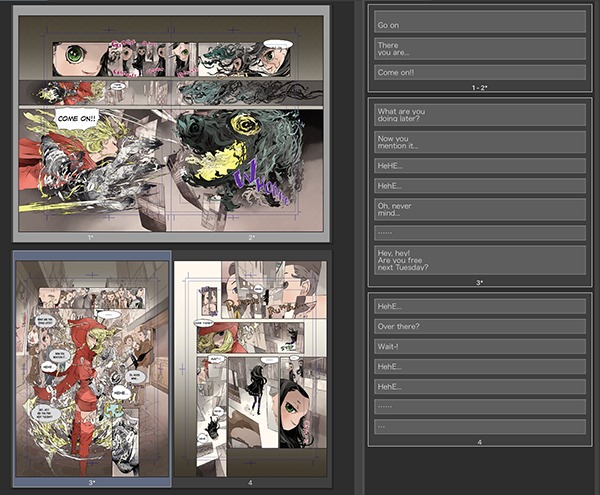
If you spent nine pages introducing the school, classmates and setting, three pages would be left for the decision, return, reveal and goodbye. The map above avoids that by opening on a borrowed object and a looming departure.
For your own project, build the same table with four columns: page range, what changes, what the reader learns, and why the scene is necessary. Split your total into ranges, add them up, and reserve a range for the ending. Don't copy the example's proportions.
A page turn can separate action from consequence. June holds out the book at the end of page 8. The next page lets Alex receive it, and page 10 holds the drawing's full meaning.
Cut scope before it becomes months of unfinished pages
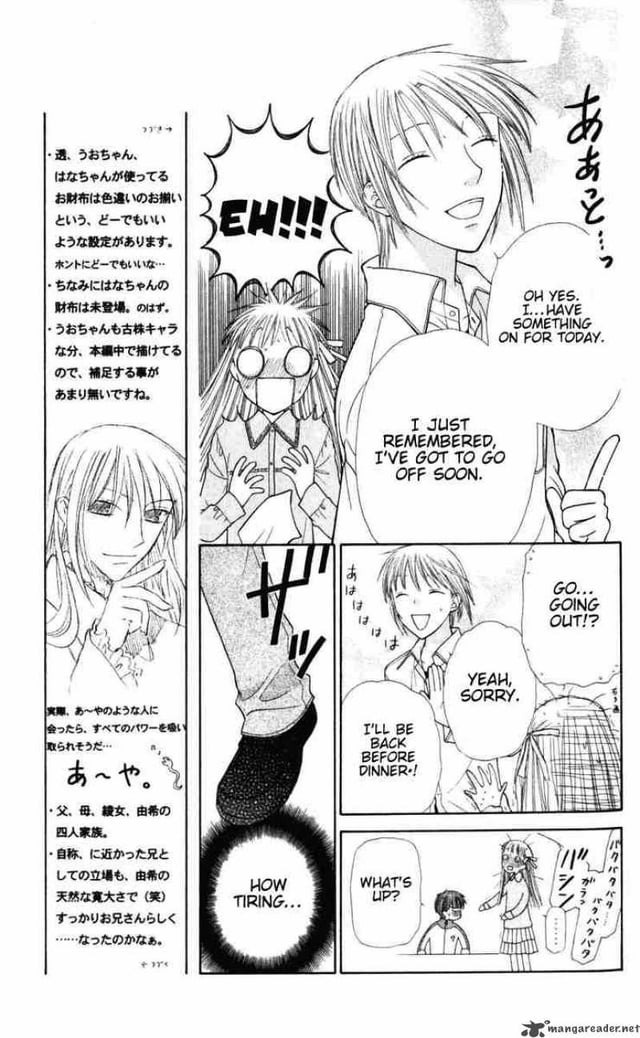
Once the beat map works, shorten production by removing scenes that repeat information or need extra settings and characters. Keep whatever makes June feel hurt, approach Alex and understand the drawing.
One poster planning roughly 40 to 50 pages wrote in October 2025, “1 month of progress and i just barely made 5 pages.”
| Expanded plan | Cut or merge | What survives |
|---|---|---|
| A classmate subplot about why Alex is moving | Remove it | Alex's departure still creates the deadline |
| June searches classrooms, a library and another building | Use one familiar school location | June still tries to avoid the meeting |
| A flashback explains why June misreads the drawing | Use her expression and the partial drawing | The mistaken reading stays clear |
The third cut needs care. If the drawing looks plainly kind at first, June's response seems arbitrary. The isolated scowl and raised finger give her a believable reason to misread it, and the facing page supplies the missing context later.
Fewer locations mean fewer settings to draw. The same corridor can hold June's hesitation, the approaching meeting and a close view of her fingers pressing into the sketchbook cover. Those compositions change the scene without expanding the world.
Mark each scene essential, mergeable or removable, then revise the beat map. Keep the conflict and the ending intact.
Make the name: storyboard the entire one-shot before inking
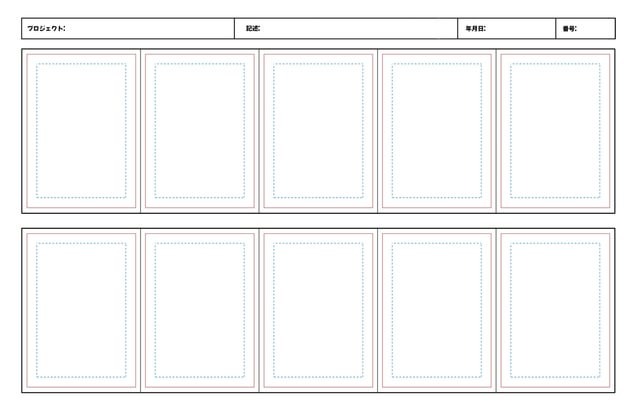
The name, also written nemu, is the rough visual version of the manga. It sets panels, reading flow, character movement and speech balloons before finished drawing makes revision expensive. The VIZ Manga Creation 101 guide describes thumbnails as a place to work out pacing and dialogue, while MediBang treats them as a page blueprint.
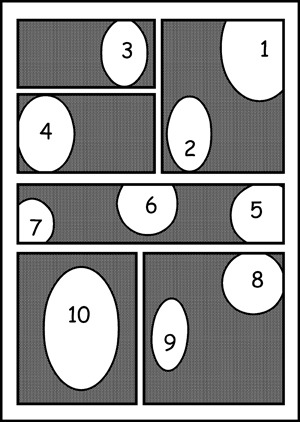
Turn the 12-page beat map into twelve small page rectangles, one thumbnail per page. Each needs its key action and any dialogue that must fit. The five beat ranges set the story's progression, and the thumbnails show whether each action is visually clear.
Three connected pages at the turning point
Page 8, the choice. An establishing panel shows Alex waiting with a bag. June stops, grips the sketchbook in a close-up, and calls Alex's name. The page ends with Alex turning toward her.
Page 9, the return. June offers the book. Alex takes it and notices the page June has left open. June's guarded expression and Alex's pause signal that the misunderstanding is about to come up.
Page 10, the reveal. Alex turns to the facing page. The reader first sees June's scowling portrait again, then the widened scene. Her raised finger points at a departing classmate, and Alex stands protected behind her. A short line from Alex follows the reveal. June's expression changes in the last panel.
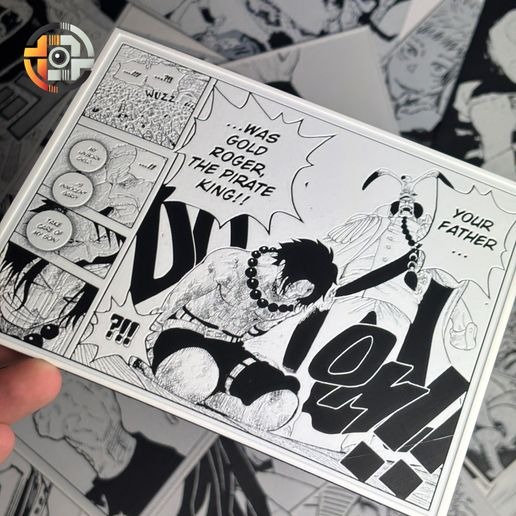
In a rough version, Alex's explanatory balloon can appear before the widened drawing. Move it after the reveal and the reader discovers the correction alongside June. Keep balloons clear of the hand, the sketchbook and the decisive drawing, and keep the reading direction the same on every page.
MediBang describes an optional overview exercise: divide a large sheet into 32 small parts to inspect the whole page sequence before you draw larger thumbnails.
You can draw the name on paper or in digital blocks. It only has to make the sequence readable. Polished anatomy and finished backgrounds can wait.
Read the rough story without explaining it
Give all twelve rough pages to someone who doesn't know the premise. Ask that reader to follow panel and balloon order, point to the moment June decides to approach Alex, describe what changes on the opened sketchbook spread, and explain the final goodbye. If your reader stalls at page 9 or guesses the reveal early, redraw that thumbnail.
For detailed frame and eye-flow technique, see the manga storyboarding guide.
Finish the pages without rebuilding the story midway
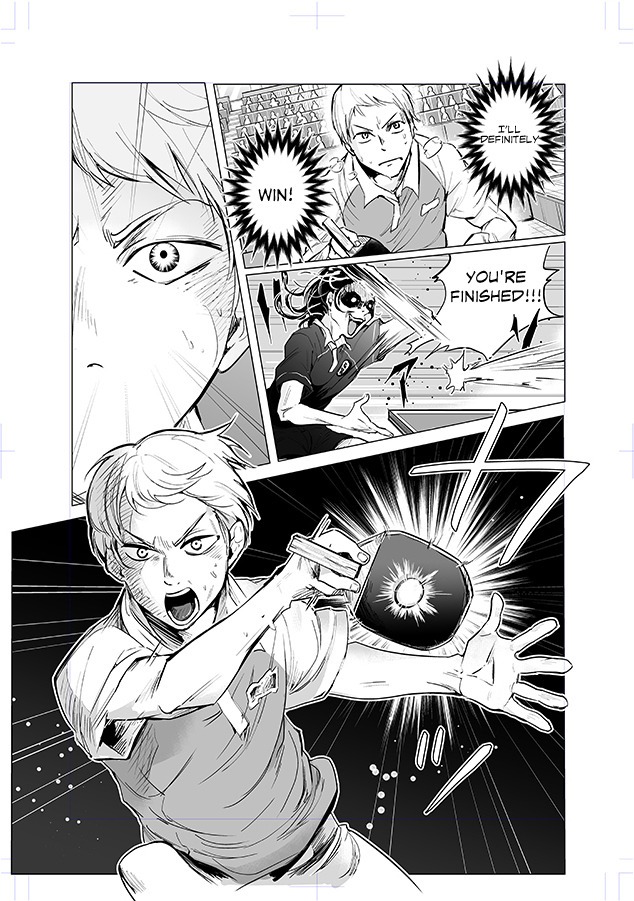
After the rough sequence works, move through pencils, inks and tones, and lettering. The order varies with your tools and collaborators.
- Pencils: Establish panel compositions at the intended final size. On page 10, leave room for the facing-page drawing, Alex's hand and the reaction that follows.
- Inks and tones: Separate the dark shape of June's raised arm from Alex and the background classmate. The reveal has to read at a glance.
- Lettering: Place the brief exchange so it follows the drawing. Keep the balloon order straight and the text clear of the drawing's crucial details.
A polished background adds little if the reader can't see whom June is pointing at.
If different people handle the script and the drawing, agree on who finalizes dialogue placement and who checks the combined page. Fix anything that hurts meaning or readability, then finish the planned artwork without redrawing scenes you've already approved.
Check that it's complete, then choose How to share it
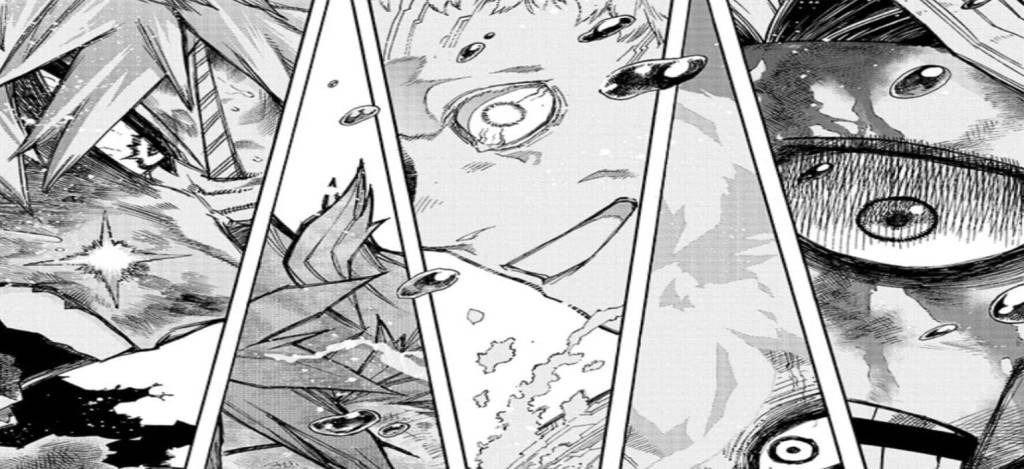
Review the exported manga in the form and at the reading size your audience will receive.
- Order: Open every page in sequence and look for missing, duplicated or misordered files.
- Text: Inspect balloons at the intended display size, including the smallest lettering.
- Visual clarity: Confirm that the page 10 spread shows both the misleading detail and the wider scene that explains it.
- Closure: Read the final exchange without explaining anything aloud. The ending should be clear on its own.
A finished practice comic can stay private or be shared on its own.
Submitting is a separate step with its own requirements. VIZ's one-shot route, for instance, prefers finished pages but also accepts work in progress, and thumbnails may be submitted when accompanied by an inked character design. Broader platform choices are covered in the guide to publishing manga.