Make your first manga a small, complete story told in pages. Define its conflict and ending, turn the story into rough panels, and test the rough sequence. Then draw, letter, and export the pages. Start with a one-sentence premise. If the project outgrows your time or drawing skill, shrink it or arrange a workable collaboration before you polish any art.
Start with a manga you can finish
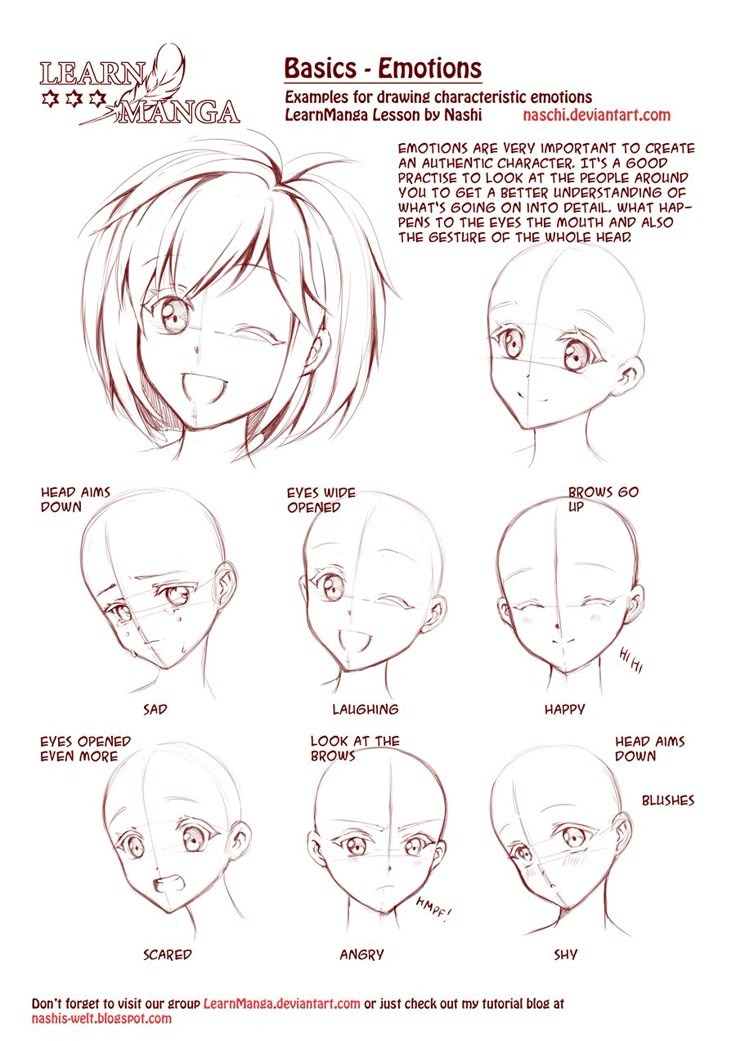
Your first manga needs a story you can carry to its ending. Pick one manageable event, a few characters, and a clear resolution before you commit to dozens of finished illustrations.
For practice, try two to four pages. A one-page comic or a four-panel 4-koma also teaches sequential storytelling.
Judge length by the work the pages demand. A conversation in one library is simpler to produce than a chase through several locations, even if both fit into four pages. Every new character, setting, action sequence, and dialogue exchange adds work.
| First project | What it lets you practice | Main trade-off |
|---|---|---|
| One-page or four-panel comic | Setup, visual sequence, ending | Very limited story space |
| Two-to-four-page practice manga | A complete short story with several production stages | Needs a tightly focused event |
| Longer one-shot | More developed conflict and character movement | More artwork and continuity work |
| First chapter of a series | Setting up a larger narrative | Introduces unresolved threads and future commitments |
A creator planning a longer one-shot described the pace on r/Mangamakers: “Lately i realized that being mangaka is such a laborous line of work to be dreamt of, 1 month of progress and i just barely made 5 pages.”
The running example follows Mina, a student who finds a forgotten sketchbook in the school library shortly before closing. She wants to return it. A drawing inside points to the owner, but when she approaches him, he thinks she took it. She explains and hands it back.
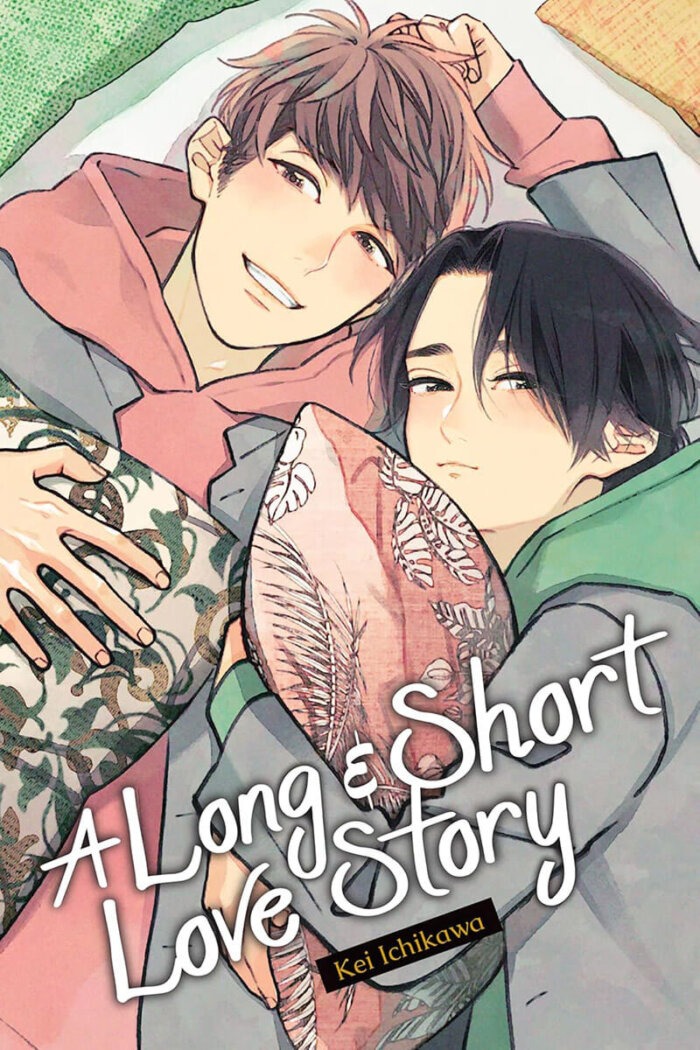
That incident fits into three pages:
- Page 1: Mina discovers the sketchbook as the library closes.
- Page 2: She spots a clue, recognizes Leo's matching charm, and approaches him. He asks why she has the book.
- Page 3: Mina explains where she found it, and Leo accepts the returned sketchbook.
Write a one-line project boundary: A three-page, black-and-white manga about Mina returning a sketchbook before the library closes. That line fixes the format, the scope, and the event that must reach a conclusion. Cut any extra scene that adds work without changing the event.
Pick a working method that fits your skills
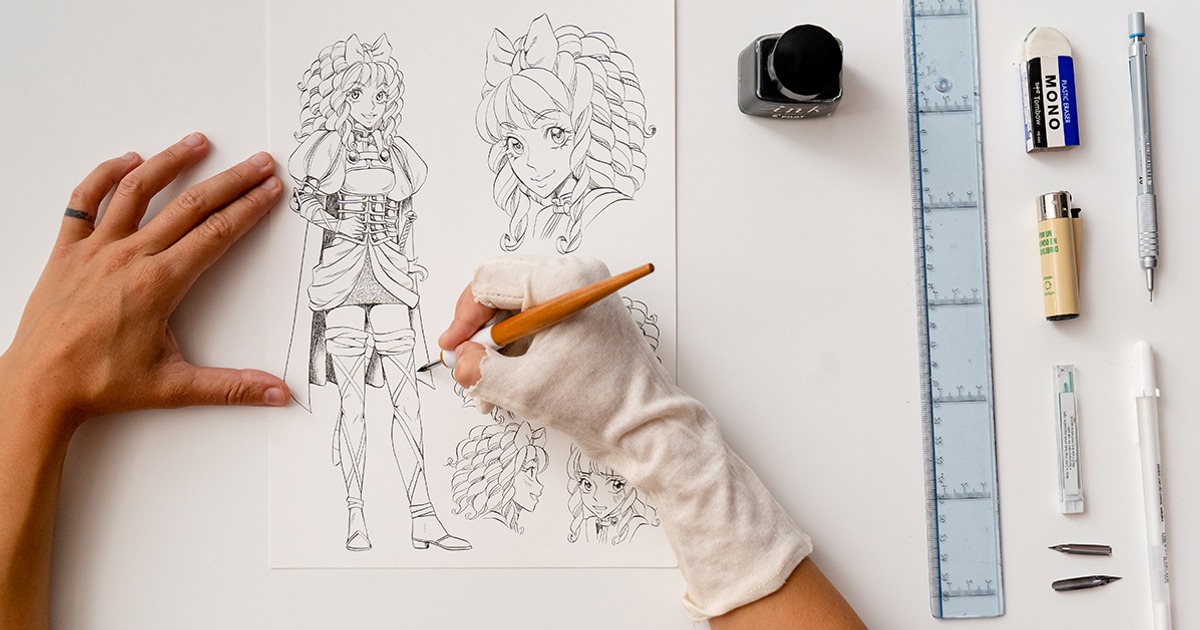
Paper, pencil, eraser, and ruler work for rough pages. A tablet, computer, or phone gives you a digital route with different editing and export options. Pick a setup that lets you change panels and move dialogue without making every correction costly.
If you can write but struggle to draw, prepare the story, script, and rough visual directions first. Then decide whether to illustrate the story yourself or collaborate. A collaboration needs workable expectations for time, communication, budget, creative control, and rights.
Now choose your route, solo or collaborative, and your minimum tools. Mina's story uses paper thumbnails followed by digital finishing.
Turn your idea into a drawable story
A useful manga premise tells you who wants something, what stands in the way, and what changes through the action. Then you arrange moments a reader can see.
You can start with a character, an imagined scene, a theme, a story outline, or a striking page composition. MediBang's manga-planning tutorial describes all five approaches. Whichever sparks the idea, the next task is a sequence of drawable events.
Mina's premise becomes: Mina finds an abandoned sketchbook in the school library just before closing and tries to return it, but its owner thinks she took it until she explains.
Break the premise into beats you can draw:
- Setup: Mina sees the sketchbook left on a library table as closing is announced.
- Discovery: A drawing inside shows a star-shaped charm. She notices a matching charm on another student's backpack near the exit.
- Complication: Mina approaches Leo holding the book. He assumes she took it.
- Resolution: She explains where she found it and returns it. Leo relaxes and thanks her.
Give internal feelings something visible to do
Mina feels guilty about nearly leaving the sketchbook behind, but writing Mina feels guilty gives an artist little to stage. A better instruction shows her starting toward the exit, stopping when she notices the book, and turning back. The reader sees the change in her behavior.
A small character reference sets Mina's hair silhouette and clothing, Leo's backpack and star charm, and the expressions the misunderstanding needs. Clip Studio Paint's comic-production guidance uses model sheets to keep character appearance and expressions consistent across drawings.
Each beat needs an action, expression, object, or reaction you can draw. If a beat exists only as an explanation in your head, draw its cause or consequence.
What if I already have a finished story?Use it as your source material. Find the scenes and actions you can draw, then pick a short sequence that stands on its own. You don't need to rewrite the whole plot first.
Move from script to rough manga thumbnails
A manga script describes what happens and what the characters say. Thumbnails decide how those actions and words fill the page. Moving between the two turns a written event into a visual sequence.
A simple page script lists the location, action, and dialogue for each moment. Here's the script for the second page of Mina's story:
| Visible action | Dialogue |
|---|---|
| Mina opens the sketchbook and notices a drawing of a star-shaped charm. | None |
| She sees Leo beside the library exit with a matching charm on his backpack. | Mina: “Excuse me. Is this yours?” |
| Leo looks at the sketchbook in her hands and stiffens. | Leo: “Why do you have that?” |
On this page, the clue comes before Mina's question and Leo's reaction follows it. That sets up the misunderstanding Page 3 resolves.
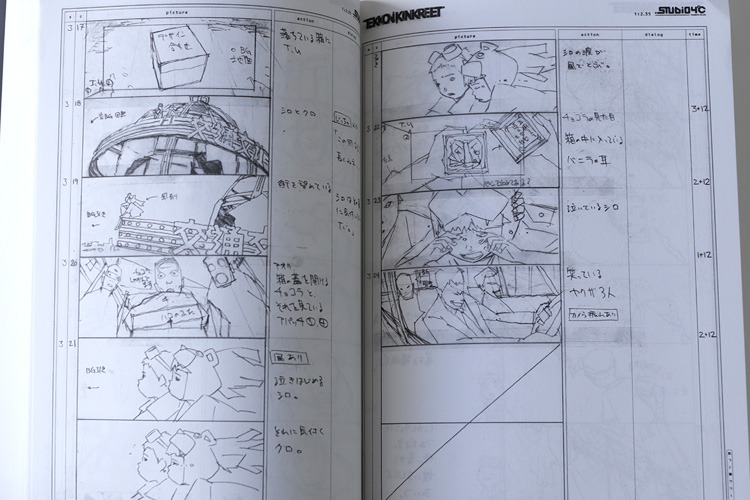
Early manga page sketches are often called name or nēmu. These rough storyboard pages include panel boundaries, characters, dialogue, sound effects, and speech-balloon positions. VIZ Media's manga-creation guide shows them as a place to make major story and composition changes.
Turn the script into a page
Draw three rough boxes for those three beats. The first is a close view of the sketched charm inside the book. The second shows Mina looking toward the exit and spotting the same shape on Leo's backpack, with her question beside her. The third gives Leo's expression room to change as he recognizes the sketchbook. Stick figures and rectangles are enough to settle the layout.
Page 3 needs a payoff the reader can see. In its first rough panel, Mina points toward the library table and says, “Someone left it there.” In the next, Leo glances at the table and reaches for the book. The last shows the sketchbook in his hands as he says, “Thanks.” The misunderstanding gets a cause and a resolution without a new scene.
An earlier script could have used a caption explaining that Mina recognized the charm. The reader sees both charms, so the caption isn't needed. If a picture is still ambiguous, add a short line of dialogue.
Discussing script-first and storyboard-first methods on r/Mangamakers, one creator wrote, “But this have me facing some problems, since the first method make the pacing too slow, and dumped with dialogue; and the second being more scene-composed but more superficial in dialogue and characterization.”
Compare your beats with your thumbnails. Every meaningful event needs a picture, every necessary balloon needs space, and each panel should add a new piece of the action. Revise the rough plan when one of those fails.
Make the panels and dialogue easy to follow
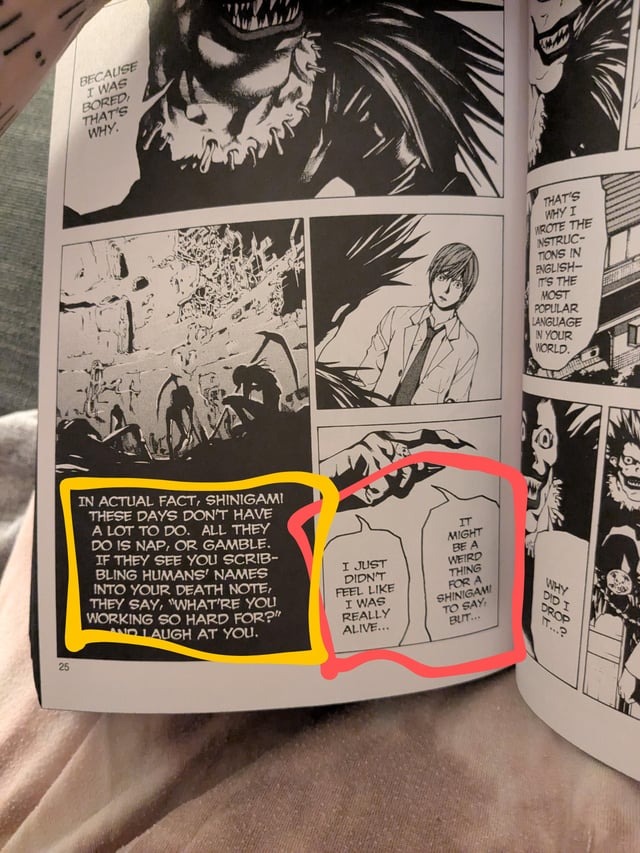
A manga page should lead the reader through its panels and speech balloons without guesswork. Panel placement, the gutters between panels, and the position of dialogue all set that route.
Our English-language example reads left to right, with Mina on the left and Leo on the right. If Leo's reply sits in a balloon to the left of Mina's question, the reader meets the answer first. Put Mina's balloon first in the reading path and Leo's after it, without hiding either face or the star charm.
Let panel size serve the scene
A small panel gives the charm a quick, sharp moment of attention. A larger panel lets Leo's reaction take up more of the page. Panel size changes emphasis and perceived progression. How long a moment feels depends on how the scene unfolds.
In a 2013 study, Neil Cohn asked participants to number empty comic panels in their expected reading sequence. Their routes didn't always follow a simple Z, because page geometry affected the paths they chose. Cohn’s panel-navigation study is a reason to test your layout instead of relying on one universal grid.
Japanese manga often uses right-to-left reading order, while left-to-right works also exist. Choose one direction for your format and keep panel and balloon order consistent.
Turn rough pages into finished manga art
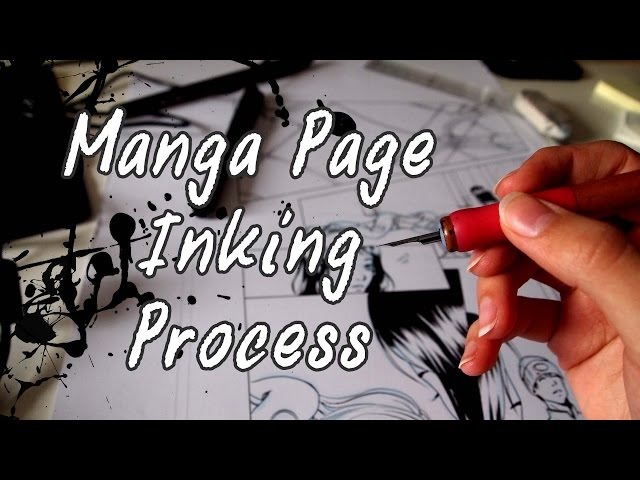
Start finished artwork only after the rough sequence passes the panel-order check and the whole-story comprehension test. That test shows what to change in the script or thumbnails while redrawing is still easy.
Before you develop final pencils, pick the page dimensions and resolution for your print or digital destination. VIZ's production guidance puts the final-art size decision at the pencil stage so changes don't disrupt later inking and tones.
Pencils turn thumbnail figures into recognizable characters and settings. Mina's library scene needs a tabletop, the sketchbook, the exit, and Leo's backpack. The characters' expressions carry the misunderstanding.
The page then goes through these finishing steps:
- Inking: Go over the pencils in final line work and sharpen the silhouettes.
- Solid blacks: Fill the dark areas to organize contrast.
- Screentones: Add controlled values or textures where they suit the black-and-white art.
- Backgrounds: Draw the place and keep the space consistent from panel to panel.
- Lettering and effects: Place dialogue and the sound effects you need, following the reading order you chose.
These steps overlap, especially in digital workflows where layers make changes reversible.
Watch one panel change
Return to the moment Leo recognizes the sketchbook. In the thumbnail, two blocky figures face each other and one holds a rectangle. The dialogue reads, “Why do you have that?”
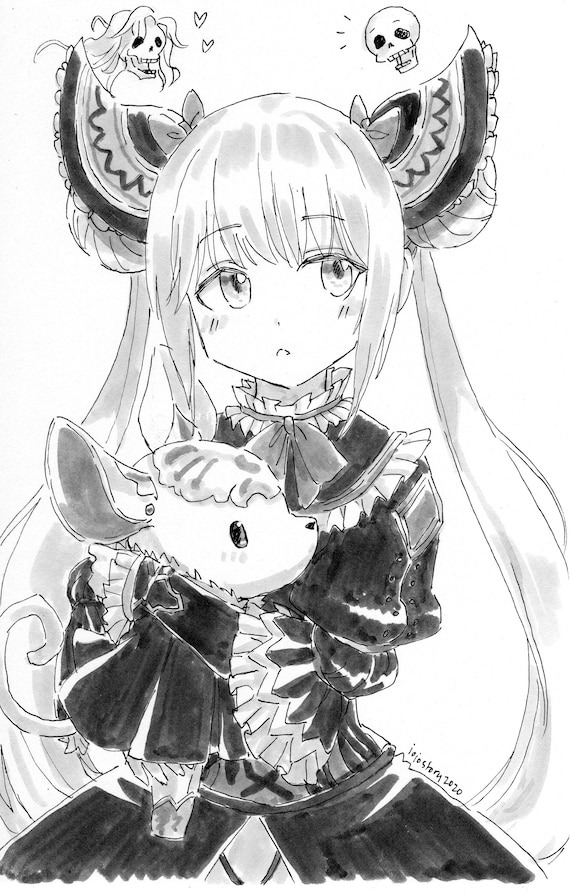
In the pencil version, Leo's shoulders tighten and his hand moves toward the book. Mina holds it out, and his backpack and star charm stay recognizable. Inks sharpen those gestures, dark areas separate him from the background, and restrained tones add depth without hiding the clue. Lettering places the dialogue without covering the charm. Then view the page at reading size. Mina and Leo should look different from each other, the charm should be recognizable, dark areas should keep their details, and the dialogue should be legible.
Test the story before finalizing every page
Test the complete rough story before you commit to final art. The panel-order test checks which image comes next. This second test asks whether a reader understands Mina's objective, Leo's reaction, and the change at the ending. The table below also covers problems from every later stage.
Give another reader the rough pages without explaining the plot aloud. Ask what Mina wanted, why Leo reacted as he did, and what changed by the final panel. Their answers show whether the sequence makes the cause of each event clear.
If they follow the panels but can't explain why Mina chose Leo as the owner, the problem sits at the story stage. Fix it before detailed artwork.
| Problem observed | Stage | Correction |
|---|---|---|
| Character's aim is unclear | Premise or beats | Give the aim a visible action |
| The ending feels unearned | Story beats | Show the event connecting obstacle and resolution |
| Dialogue crowds a panel | Script or thumbnails | Shorten or redistribute the exchange |
| Events appear in the wrong order | Page composition | Move panels or balloons |
| Character appearance shifts | Reference or pencils | Restore distinctive features |
| Words or objects disappear in dark art | Finishing and lettering | Restore contrast or move text |
| Export cuts off content | Output settings | Correct cropping or export |
Fix the earliest failing stage first, so you don't spend effort on unrelated detail.
Repair the missing connection
If the sketchbook clue is tiny or hidden by a speech balloon, readers will think Mina approached Leo at random. In a revised thumbnail, give the drawn charm its own clear view before showing the matching charm on the backpack. If Leo's expression alone is ambiguous, adjust his gaze and reaching gesture at the pencil stage.
Some readers will prefer a different drawing style. Revise only for a real problem with the story, the characters, or the panel order. After you change the earlier stage, have someone read the short sequence again and explain what happened.
Export a readable version and take the next step
Finished artwork in an editing file and usable reading pages are different outputs. The exported version must keep the page order and legible text.
- Editable originals: Working files that retain layers, text, and revision options.
- Exported pages: Images or a PDF intended for reading, sharing, or proofing.
- Submission files: Versions prepared for a particular printer or platform's requirements.
Print adds three terms. Trim is the cut edge of a printed page, bleed extends artwork beyond that edge, and the safe area keeps important text and images clear of cropping.
Clip Studio Paint's comic-creation guide uses 600 DPI for a black-and-white print-manga setup.
Your destination decides the accepted file type, dimensions, and size. An online reading platform and a printer can ask for different versions of the same work.

Open the exported pages in order on the device or proof that matches how readers will see them. Look for cropped art, broken text, unexpected margins, and balloons that are hard to read. Then compare the file type, dimensions, and file size with the destination's published requirements.
A vertical-scroll Webtoon also uses a different page layout from the complete pages produced here.